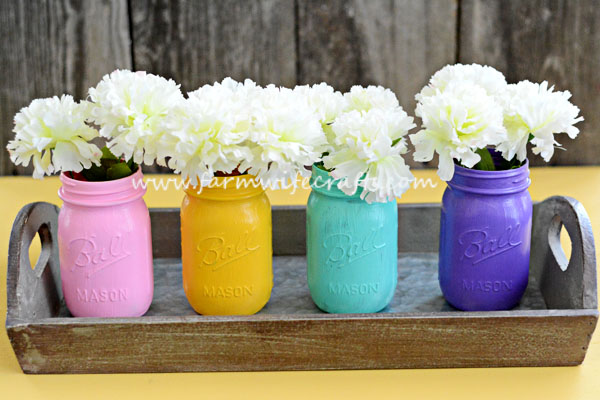
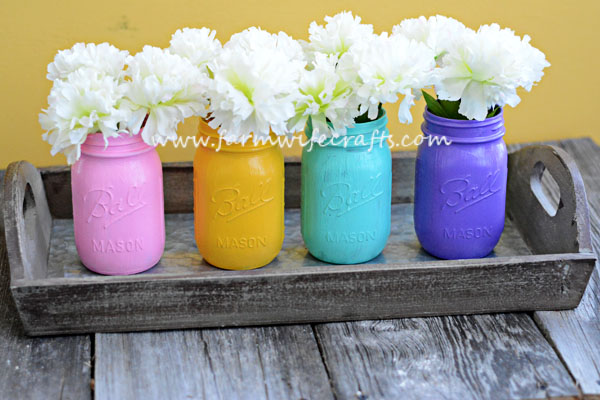
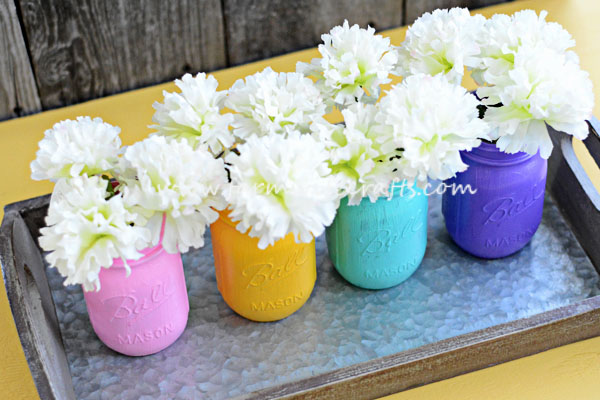
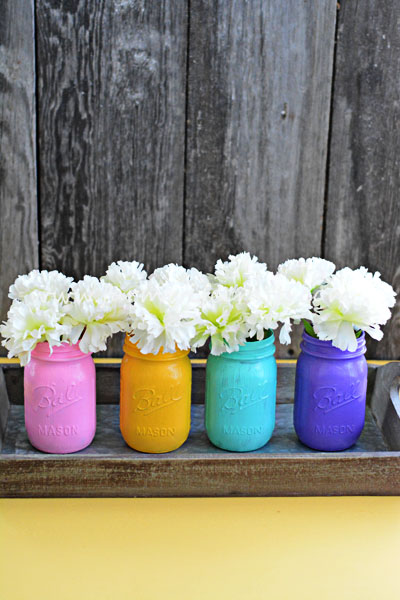
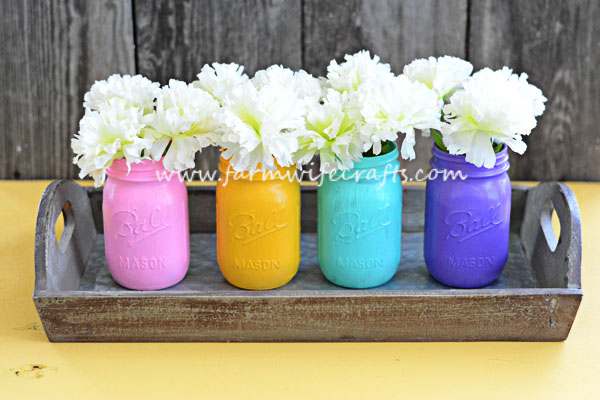
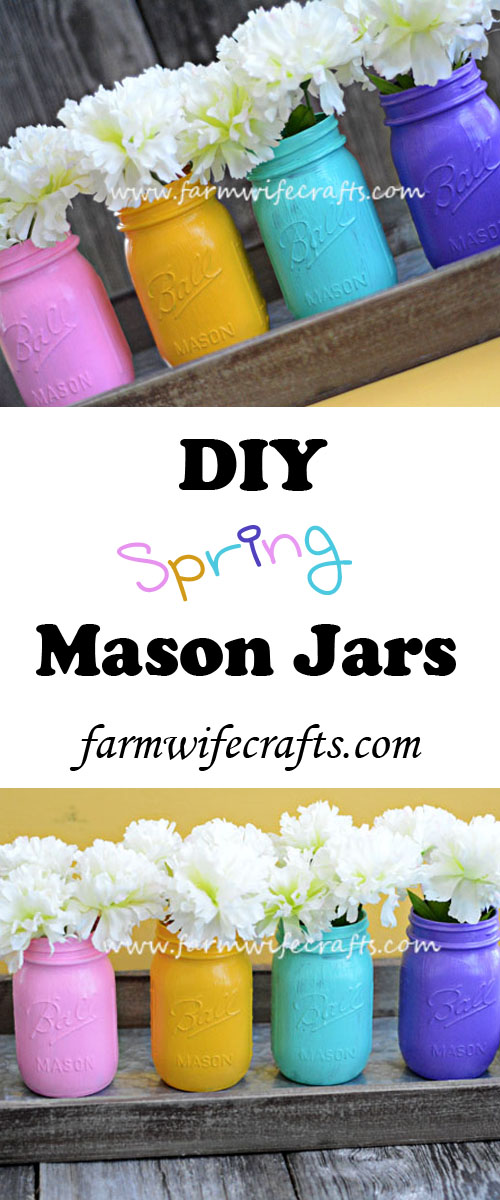
Ahh. I think Spring might be here at last. However, typical Midwest weather, we’ll probably have some 30 degree days again before Spring is here to stay. I was trying to come up with a Spring centerpiece for my kitchen table, so I came up with these DIY Spring Mason Jars.
I have a slight obsession with Ball jars…okay maybe a major obsession, so anytime I have a chance to decorate with them, I jump at it.
DIY Spring Mason Jars
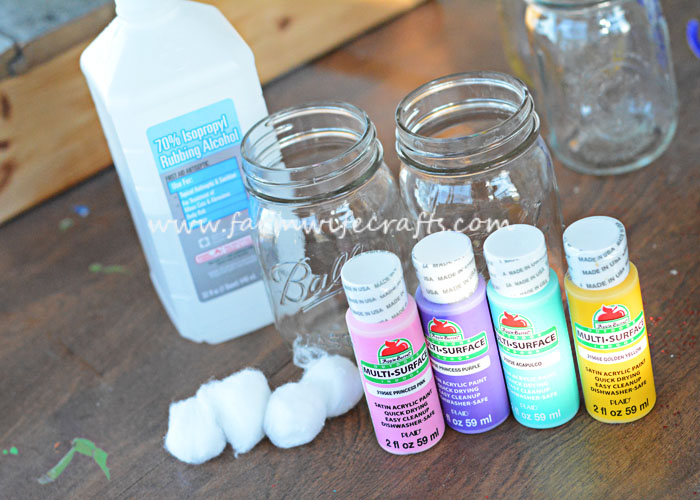
For this craft you will need: 4 regular mouth pint size mason jars, 4 different colors of paint of your choice (I used Apple Barrel. Make sure it is meant for glass.), paint brush, cotton ball, rubbing alcohol, flowers of your choice(I found some at our local Wal-Mart).
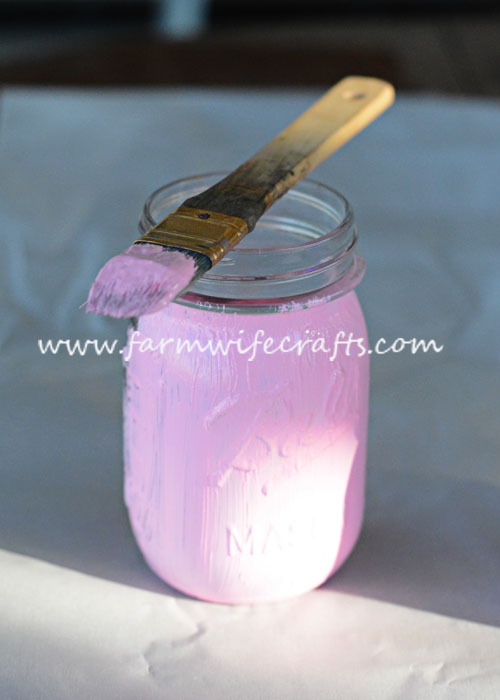
Begin by cleaning the jars with rubbing alcohol and let them dry. Next, paint the jars. I had to use two coats. If you do, be sure to let them dry well in between coats.
Once the jars are dry, you can add the flowers and you are done!
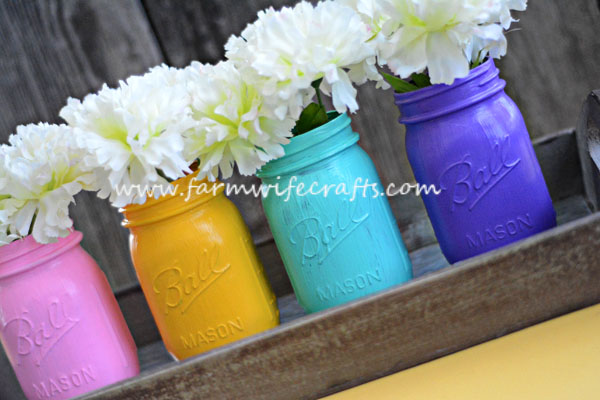
If you prefer a more rustic look to the jars, you can sand the paint off a bit in places using a nail file or sandpaper. Another tip: place parchment paper under the jars to keep the paint from sticking to the surface.
I think it took longer waiting for the paint to dry then it did making this project! Don’t like the different colors? Paint them all the same and leave them out through summer also!
DIY Spring Mason Jars
Ingredients
- 4 Regular mouth mason jars
- paint in various colors of your choice make sure it is meant for glass
- Rubbing alcohol
- cotton balls
- paint brush
Instructions
- Clean the mason jars using a cotton ball soaked in rubbing alcohol. Let dry.
- Using a paint brush, paint the jars. Allow to dry completely in between each coat.
- Let dry and add flowers.

Leave a Reply