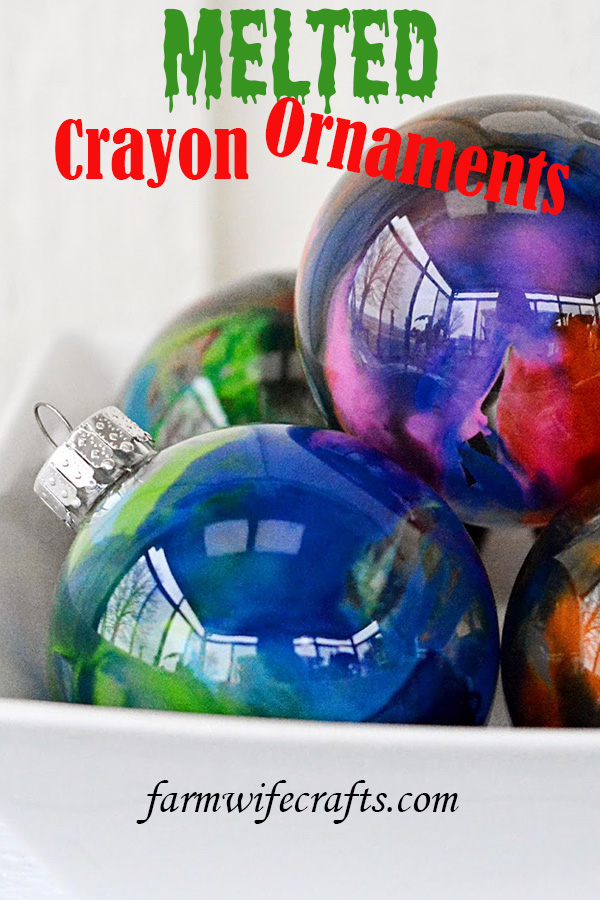
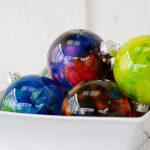
Do you have any holiday traditions? We have a few and one of them is that the girls make a new ornament every year like these Melted Crayon Ornaments.
We’ve been doing this since our oldest, who’s almost 14, was about 2?? So, do the math and we almost have too many ornaments. I tell my husband every year that we are going to have to start putting up a second tree to make room for more ornaments because I can’t not put all of them out. We already have two smaller ones in the girls’ bedrooms. He thinks I’m joking:)
Melted Crayon Ornaments
To make the melted crayon ornaments you will need:
crayons with the paper removed and broken into pieces about 1/2 inch long
gloves or something to protect your hand from the heat while melting the crayons.
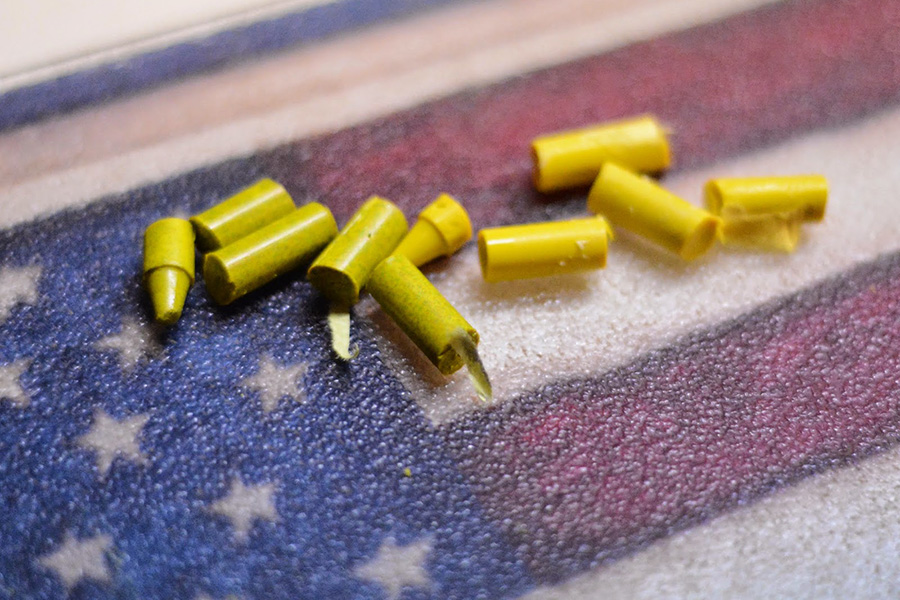
Begin by removing the paper from the crayons of the desired colors. Then break them into 1/2″ pieces. This is a good job for the kids!
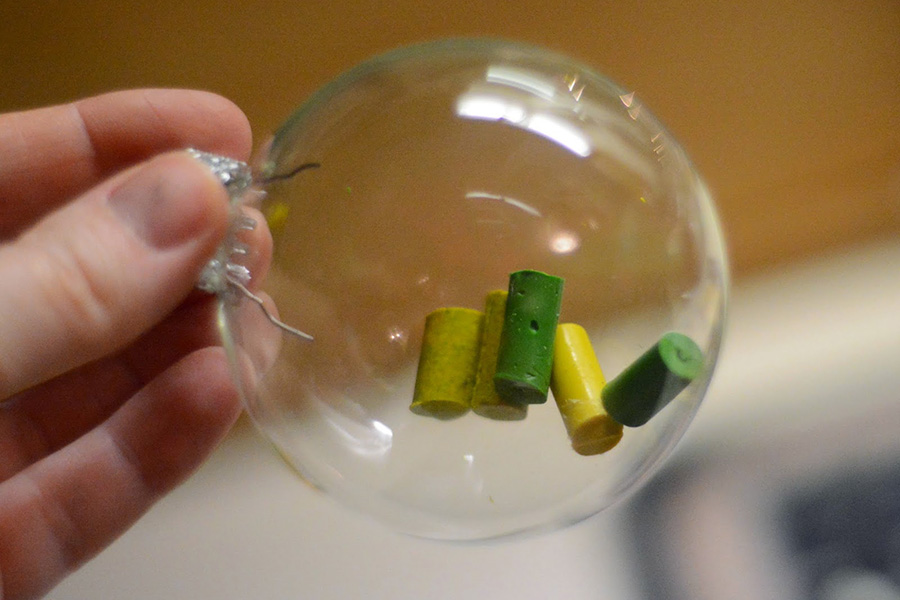
Place the desired colors inside the ornament and reattach the top. We used about 4-5 pieces per ornament.
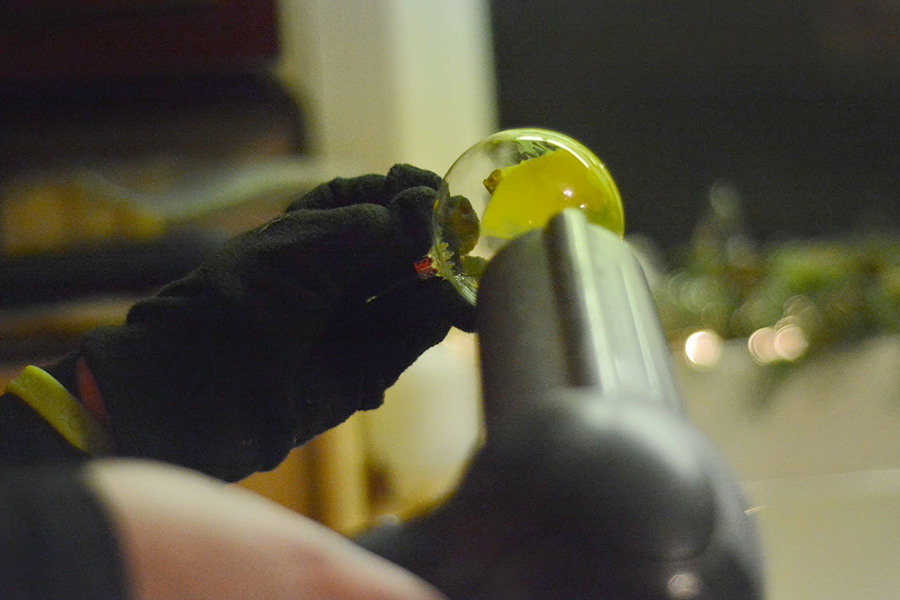
Next, with a glove on, begin to heat the ornament with a hair dryer and turn as needed to make the colors run. Please be careful!
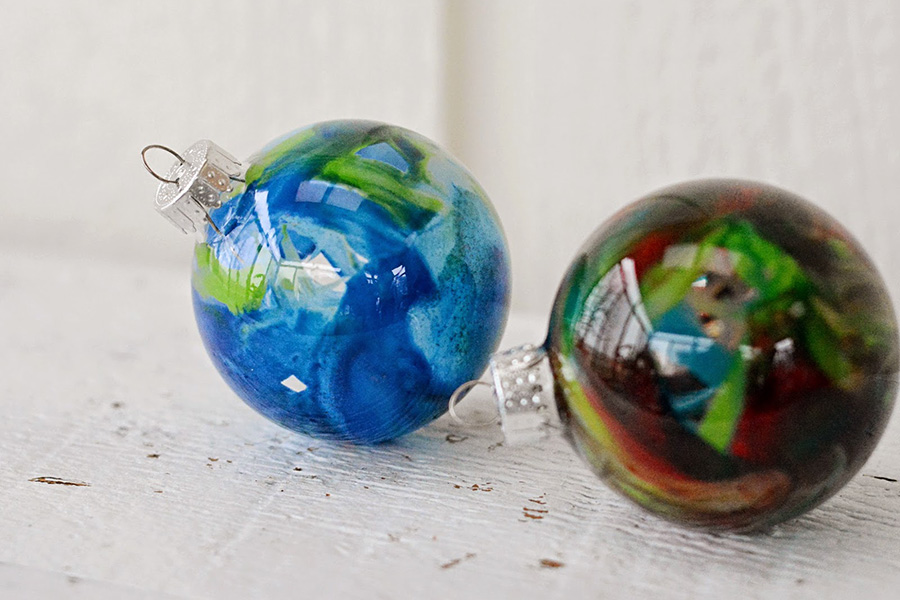
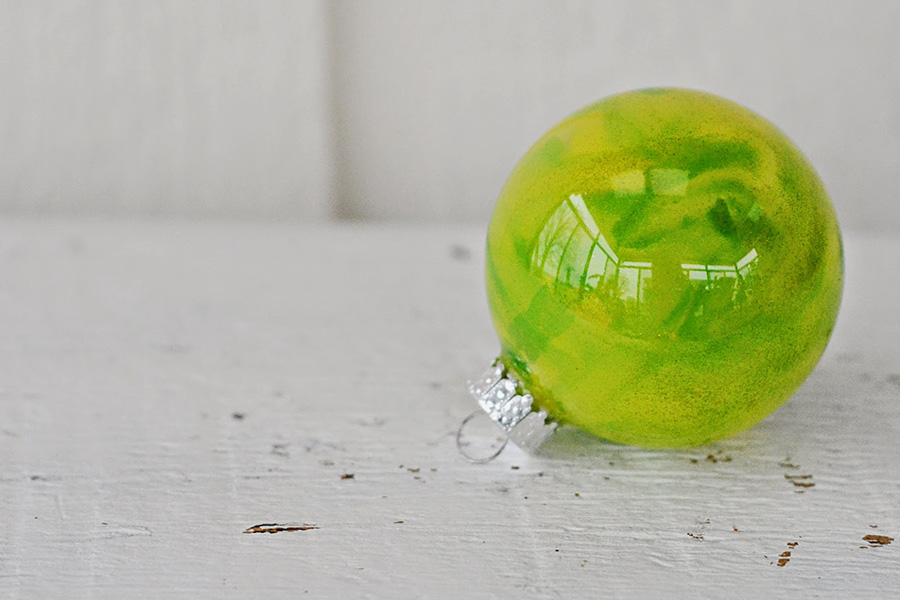
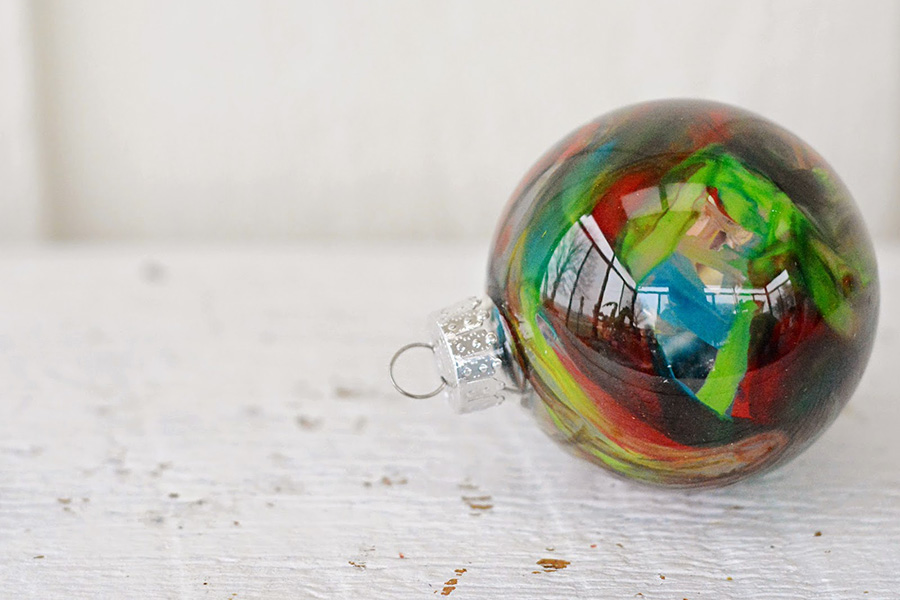
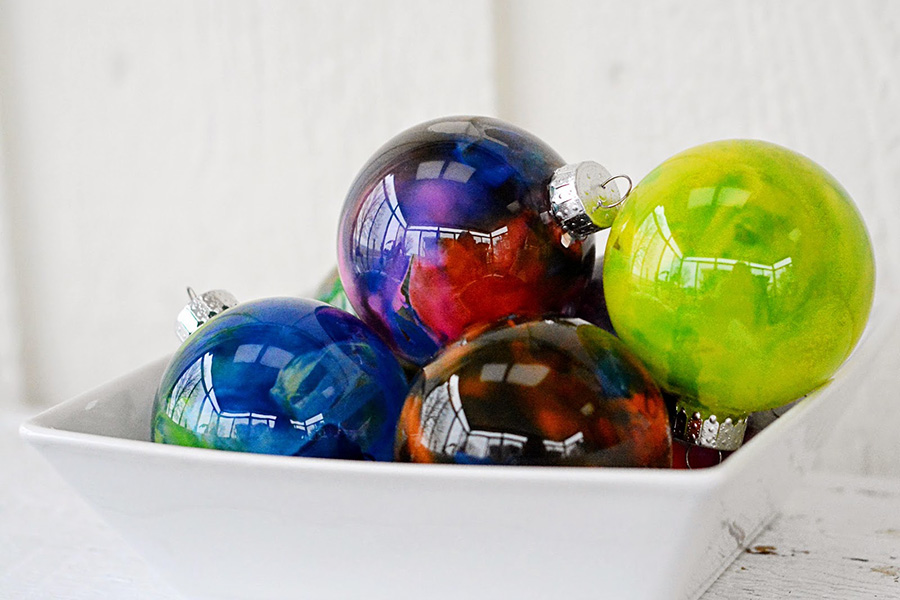
Once the colors are completely melted, your ornament should look something like this and they are ready to hang on your tree and enjoy!
It’s so hard to pick a favorite! They’re all unique and beautiful in their own way!
Melted Crayon Ornaments
Ingredients
- Clear glass ball ornaments
- Crayons various colors, peeled, and broken into 1/2 inch pieces
- hair dryer
- gloves optional, but recommended!
Instructions
- Peel the label off the crayons and break into sections about 1/2 inch long.
- Remove the metal top from the glass balls and place 4-5 crayon pieces inside. Reattach the metal top to the ornament.
- Using a hairdryer, add heat to the ornament and rotate it to let the colors run together. Continue this process until the crayons are completely melted and no clear parts show. I recommend using a glove or something to protect your hands from the heat!

[…] Melted Crayon Ornaments. […]