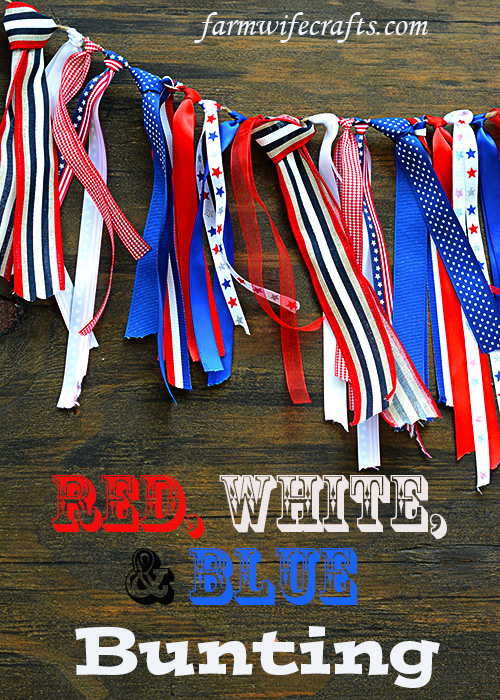
It’s always fun to create your own DIY decor for the home. I made this Red, White, & Blue Bunting to add some color to our living room for the 4th of July, but I like it so much I may never take it down!
I always laugh when I see this meme because it is so true!
That is exactly what happened when I saw a bunting similar to this at a craft store. Now, I don’t think it actually cost me $92.00 because I already had a lot of the supplies on hand, but…it’s more fun to make it yourself!
Red, White, & Blue Bunting
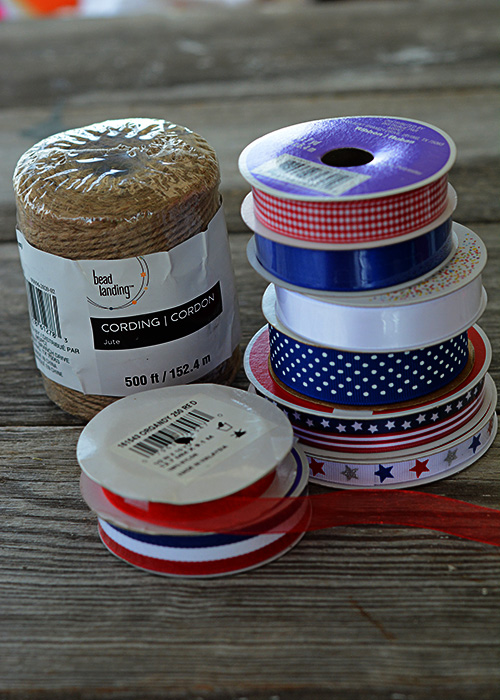
You will need:
Red, White, and Blue ribbon in various patterns and widths. I bought any size from 3/8″ to 1.5″ from Michaels and didn’t end up using the 1.5″ because it was too thick. Anything larger thing 1″ didn’t work well.
Begin by measuring the length of twine you need for the desired space.
Next, cut the ribbon to the length you choose. I didn’t measure any of the ribbon because I wanted more of a rustic, unfinished look. Then fold the ribbon in half and hold it against the twine about 1 inch from the top of the fold or loop.
Bring the ends of the ribbon around the backside of the twine…
Push the ends through the loop and pull, like tying a shoe…
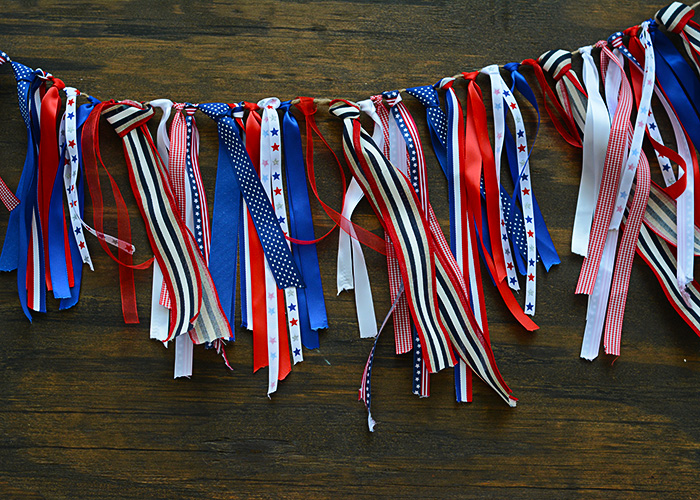
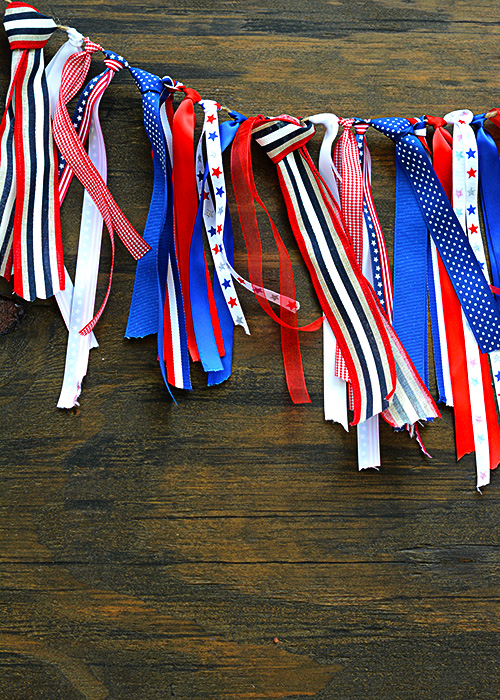
You should end up with a “bow-tie.” Continue this process until you’ve reached the end of the twine making sure to leave some space on both ends to hang.
I absolutely love how this turned out!
It was so easy to whip this up and I look forward to enjoying it every year!
Happy 4th of July, everyone!
Red, White, & Blue Bunting
Ingredients
Instructions
- Cut the twine to the length to fit desired space.
- Cut the ribbon to the length of your choice. I didn't measure because I wanted varying lengths.
- Fold the ribbon in half and hold it up to the twine.
- Bring the bottom ends of the ribbon up the backside of the twine.
- Bring the ribbons through the loop on the front side of the twine. Make sure to leave space on both ends to hang.
- Hang up to display and enjoy!




Leave a Reply