I have always loved snow globes. It’s something about the magic and wonder watching the “snow” fall inside. It’s almost magical. I had one growing up as a kid. I can’t remember exactly who got it for me though. My grandma gave one to each of the girls on their first Christmas and it is such a neat keepsake. We’ve also broken several snow globes. Have you ever had to clean up a broken snow globe? Not.Fun. No matter how much you scrub the floor, it’s like the glitter multiplies and the glass goes everywhere. And, of course, there are tears. So many tears.
Last year the girls and I made snow globes as a simple gift to give to their teachers. We loved how they turned out and that they were super easy to make, so we ended up making more…and more…and more. I think every female on our gift list received a DIY snow globe.
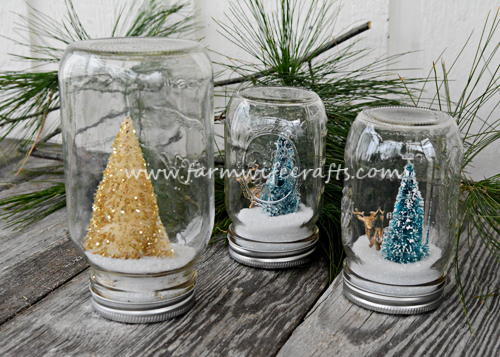
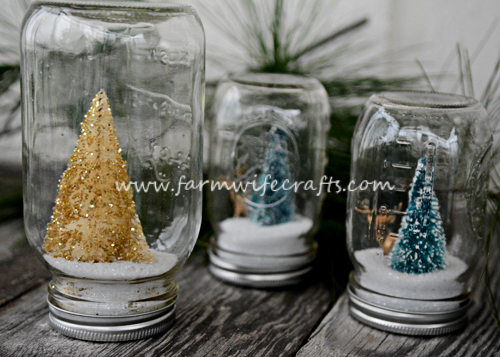
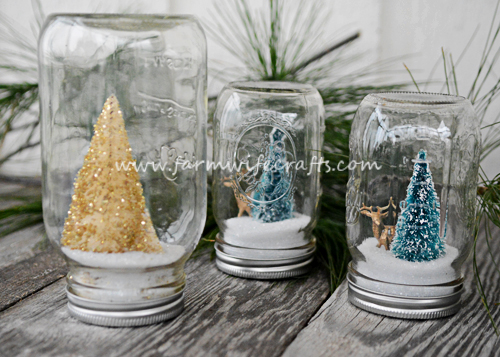
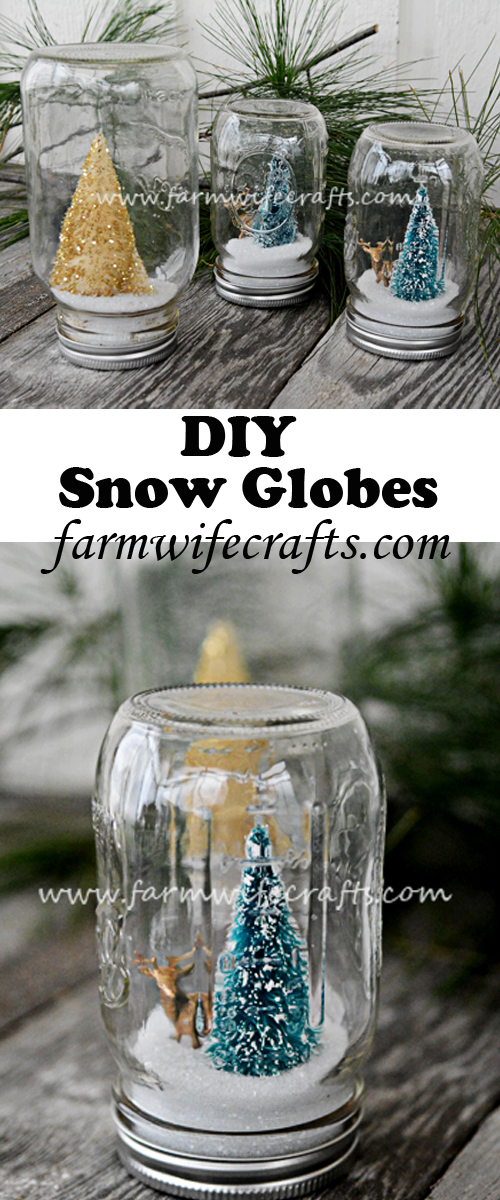
How adorable are these? They only take a few supplies and most of them can be found at your local craft store.
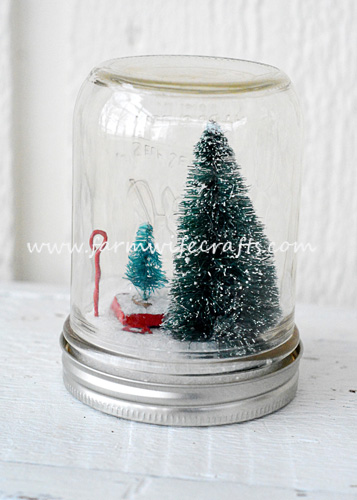
Fairy gardens are the big thing right now, which works out perfectly for these DIY snowglobes. In some of them I placed a little red wagon with a little tree in it next to a bigger tree.
DIY Snow Globes
For these DIY Snow Globes you will need: glass jar, lids, and rings, Iridescent glitter, mini Christmas trees in various sizes, other small accessories of your choice, hot glue, hot glue gun, gold glitter (optional), white school glue (optional).
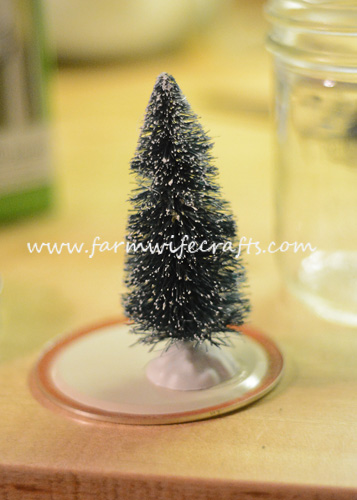
Begin by gluing the tree to the lid of the jar using hot glue. Position it wherever you would like, but be sure to keep it away from the rubber ring, or the lid won’t close.
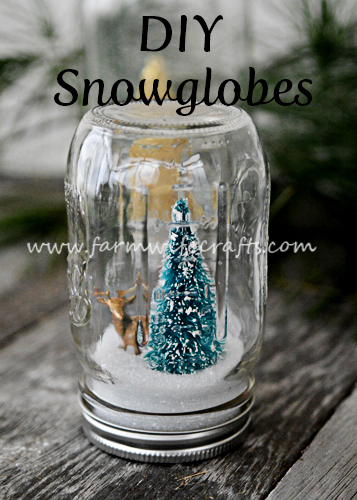
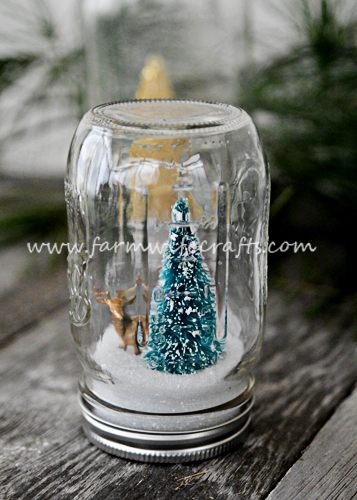
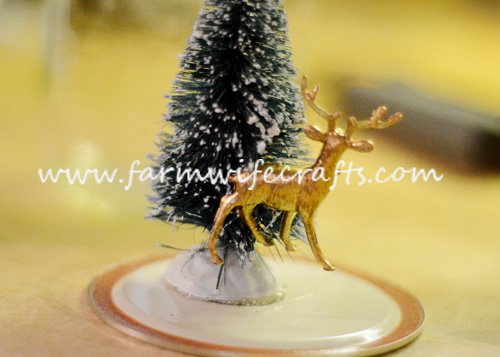
Next add whatever other miniature accessories you would like. For this one I added a gold reindeer. You may have to glue them to the tree using a generous amount of hot glue, other wise when you add the snow you won’t be able to see it.
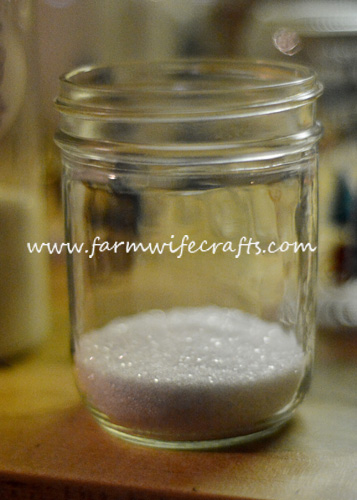
Allow the hot glue to dry well. I let it set overnight, so I was sure the glitter wouldn’t stick to the glue. Once it is dry, you are ready to assemble the globe. Add some iridescent glitter to the bottom of the jar.
I don’t have an exact measurement of the glitter I used. I wish I did, but each jar is different. I used wide mouth jars and regular mouth jars as well as pint and quart sized jars, so you just have to eyeball it and add more glitter or dump some out.
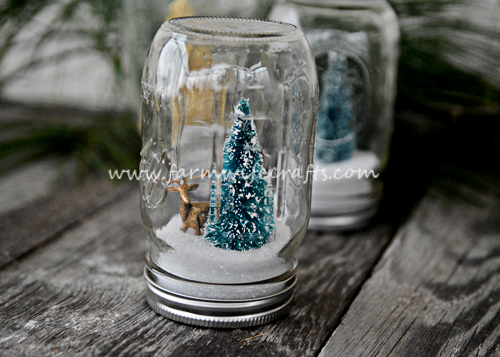
Once you’ve added the glitter, you can attach the lid and ring, turn upside down and, voila, you are finished.
For the gold Christmas trees, I brushed white school glue on a white Christmas tree and sprinkled gold glitter on the glue.
These are so cute, I wish I could leave them out year round!
DIY Snow Globes
Ingredients
- Glass jar lid, and ring (wide mouth, regular mouth, quart, pint, it doesn't matter)
- Iridescent glitter
- Miniature trees of various sizes
- Miniature accessories of your choice
- Gold glitter optional
- hot glue
- hot glue gun
- school glue optional
Instructions
- Glue a tree to the lid making sure it stays inside the rubber ring.
- Add the other miniature accessories you would like. Note: you may need to glue the items a bit higher on the tree so they are visible once the snow is added.
- Allow the glue to dry.
- Add the glitter to the bottom of the jar. Attach lid to the jar.

[…] Get your kids involved in making the gifts to not only keep them busy but also show them it’s fun to make things for others. Sarah from The Farmwife Crafts has SO many great handmade gift giving ideas on her site, including these great DIY Snow Globes! […]