Affiliate links were used for products I love.
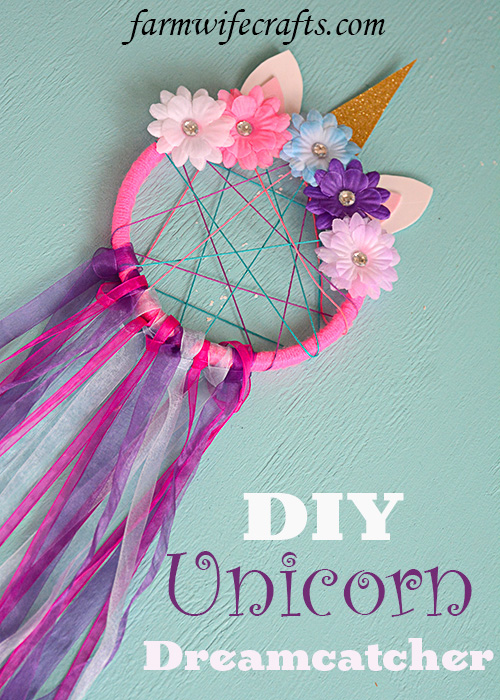
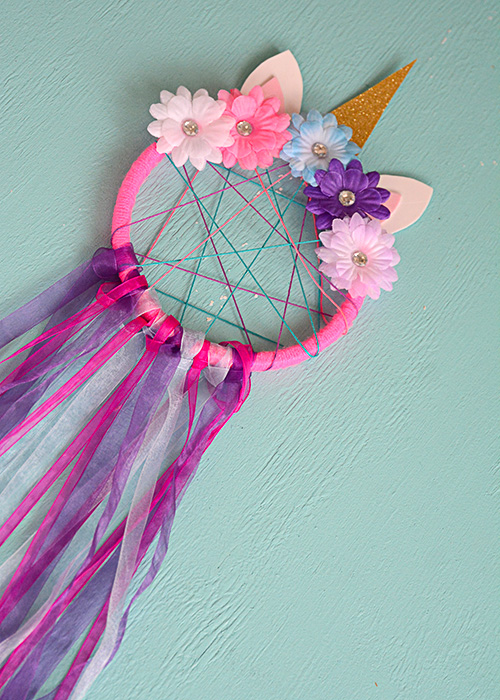
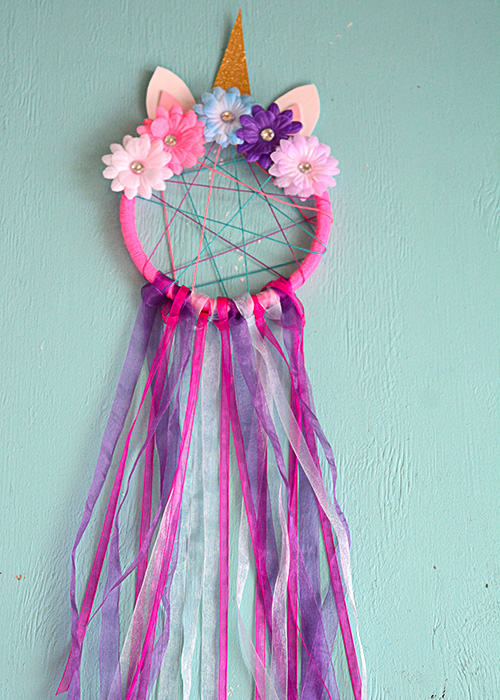
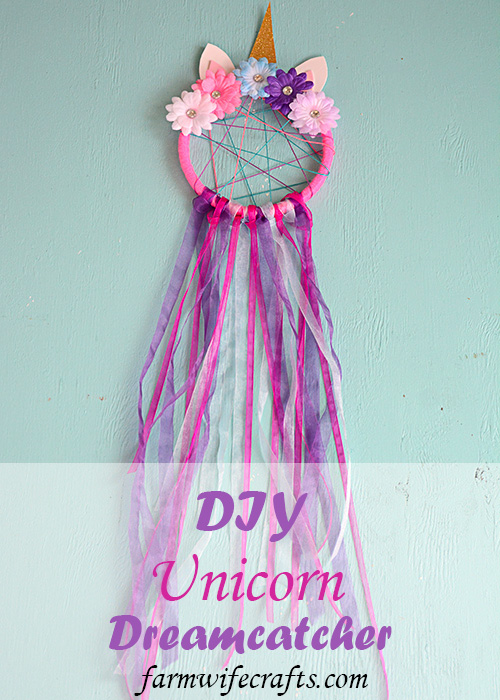
Do you have a little girl that is crazy about unicorns like mine? This DIY Unicorn Dreamcatcher is easy to make and is sure to put a smile on her face!
I redecorated Jo’s room 2 years ago in a unicorn theme. The poor girl was still being forced to sleep with pale yellow walls and farm border that had been up since our her oldest sister was a baby. She was 12 at the time that I decided it was time. Jo deserved a room that fit her! I had to let go of my emotions and do something that I knew she would love. Let me tell you, I held it together until I pulled that last strip of farm border down. I might be a little crazy, but I saved a piece of it! However, this ended up being a dream come true for us because at 5 years old, she finally started sleeping through the night again!
Jo was our dream baby. Don’t get me wrong, all three of our girls are perfect just the way they are, but when we brought Jo home, she immediately started sleeping through the night within the first week. This was something we had heard other parents brad about, but never thought we’d be lucky enough to experience. Sure, she had her nights when she would wake up, but we definitely weren’t complaining! Until she turned 1! It became a nightmare. I would rock her to sleep(bad habit I no, but we never had an issue before and she was my baby. My last one) and as soon as I would put her in her crib she would tense up and start screaming bloody murder! Then, when I did finally get her to sleep, she would wake up several times and we would start the process again.
As she got a little older, we thought a regular bed would be the answer, so around 18 months we switched her to a twin size bed. No bueno. We would have to lay with her until she fell asleep(I know, another bad habit!) then we would crawl out of the room in hopes that we wouldn’t wake her. She would eventually wake up and make her way to our room. For nearly two weeks (although it felt like a lot more) we would take her back to our room and start the process over. I always said I would never have a kid in our bed, but I was desperate. So, we would lay with her to get her to sleep, then when she came in our room in the middle of the night, she just crawled in bed with us! You do what you have to do!
We decorated her room in unicorns and she has slept in her bed every night since!!!! Best decision ever. She did start to have some nightmares though, so we talked about dreamcatchers. She knew what they were because her sisters have one in their room. She requested a unicorn dreamcatcher, but I couldn’t find one I liked and the ones I did like were way too expensive(story of my life)! So, I decided to make one myself. The 5-year old critique was pleased and 2 years later, I’m just now getting around to blogging about it!
DIY Unicorn Dreamcatcher
Yarn in whichever color you choose
Ribbon in various colors and textures
Pink and white foam paper sheets
Scissors
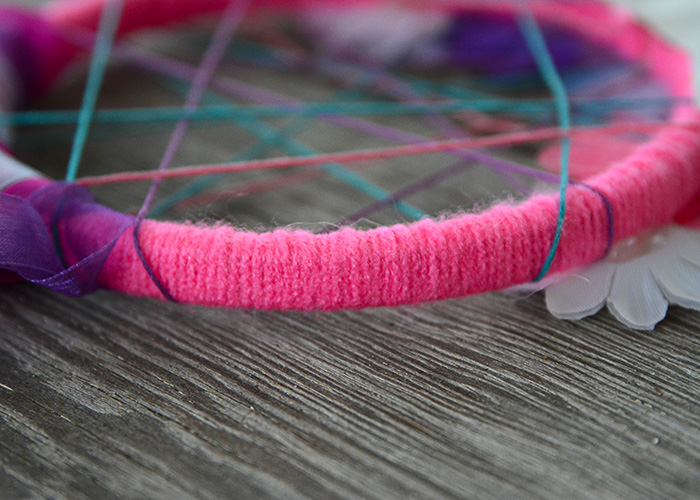
Begin by wrapping the embroidery hoop with yarn then with the hot glue gun, glue the end of the yarn once you have gone all the way around the hoop. The metal piece will be the top of the dreamcatcher.
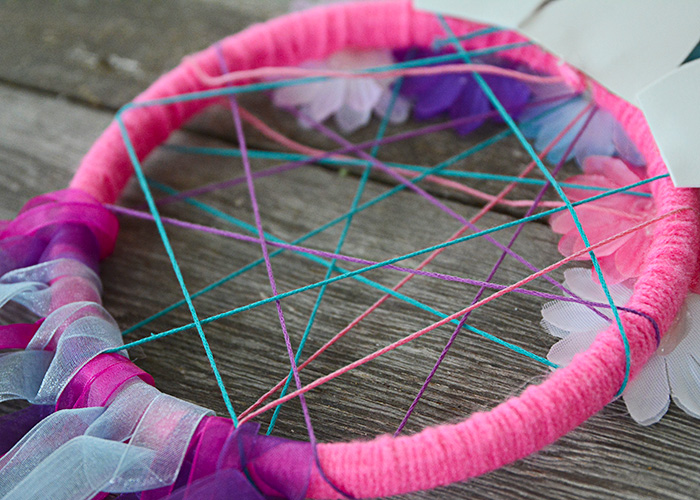
Next, wrap the embroidery floss around the embroidery hoop to create a web pattern in the middle of the hoop. You can glue or tie the ends making sure that they are at a spot that will be covered up either by the ears, horn or flowers at the top.
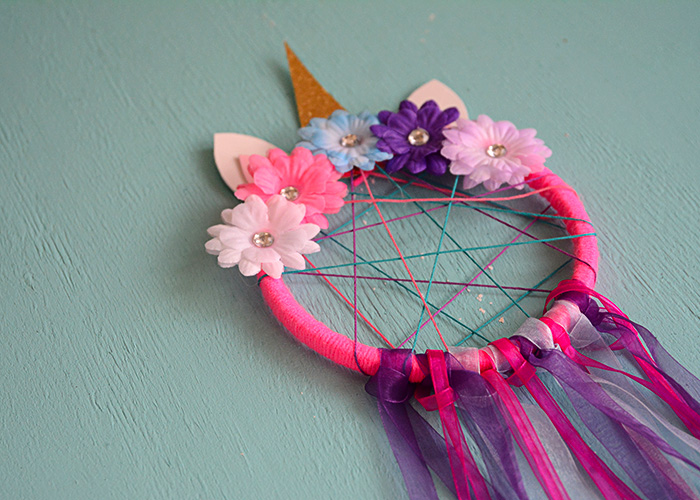
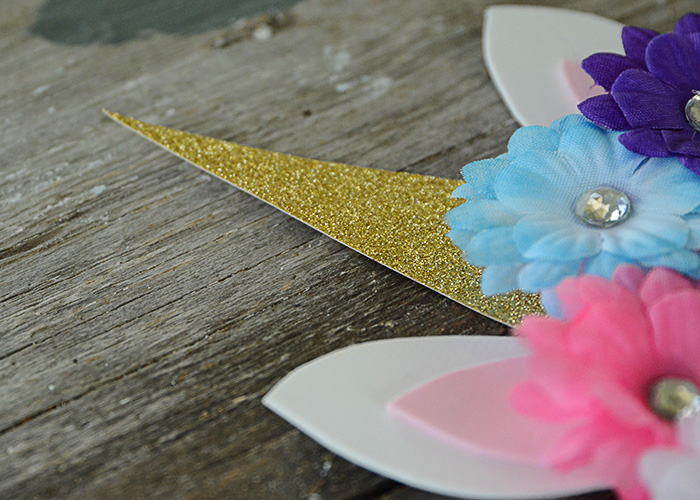
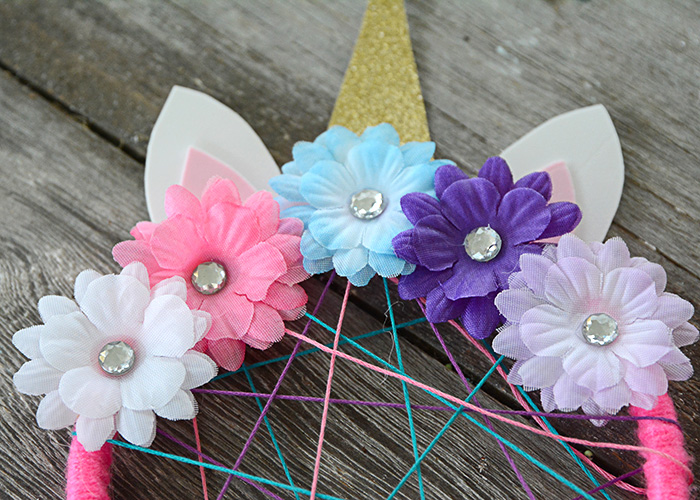
Next, cut out a horn from the glitter paper and glue it to the top of the hoop.
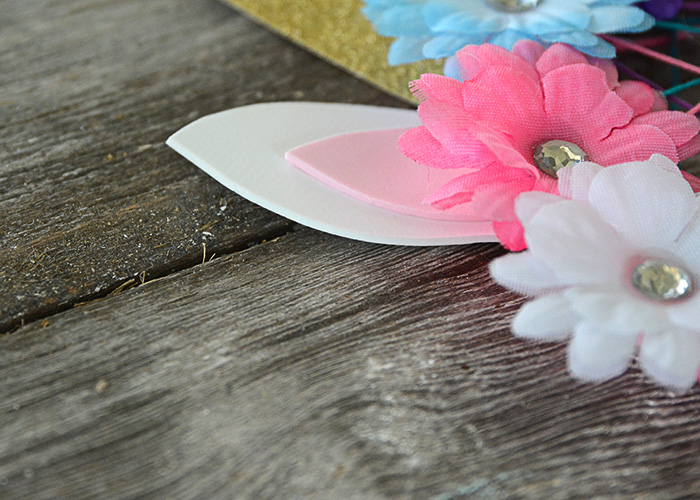
Next cut out ears from the white and pink paper and glue them together. Then glue them to the back of the hoop on each side of the horn.
Now, glue the flowers around the top of the hoop.
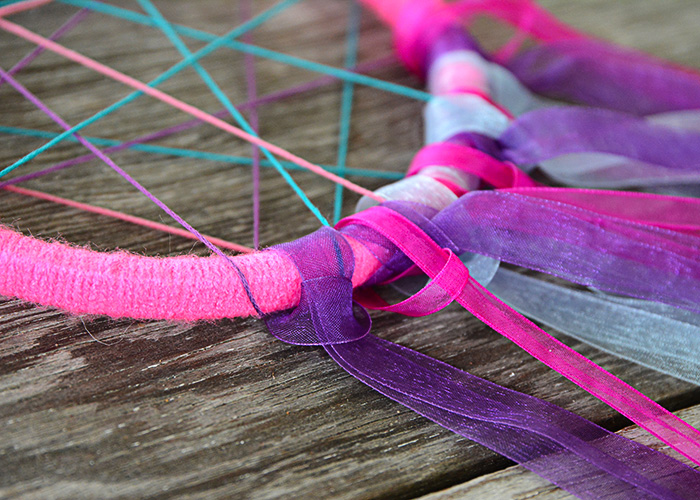
Last, loop the ribbon around the bottom of the hoop. These can be any length you want. You can add as few or as many as you would like.
That’s it! In just a few easy steps, you have created a DIY Unicorn Dreamcatcher for the sweet girls in your life!
DIY Unicorn Dreamcatcher
Ingredients
Instructions
- Wrap the yarn around the embroidery hoop and glue the end down once the hoop is completely covered. The metal part will be the top of the dreamcatcher.
- Wrap the embroidery floss around the hoop creating a web pattern. Tie off the floss at the top of the hoop.
- Cut a horn from the glitter paper and glue to the top of the hoop.
- Cut ear shapes from the white and pink foam paper. Make sure the pink ear piece is a little bit smaller than the white and glue them together then glue them to each side of the horn.
- Glue the flowers to the top of the hoop paying close attention to cover up any ties.
- Loop the ribbon around the bottom of the hoop. These can be any length you want and in any pattern. Use as many or as few as you want!

Leave a Reply