Affiliate links were used for products I love.
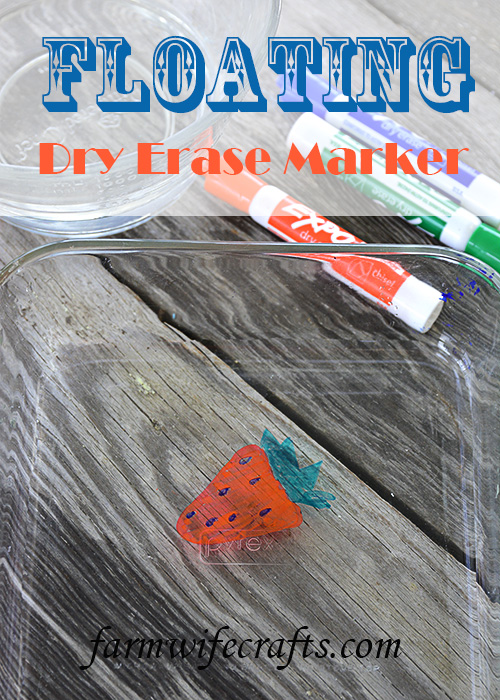
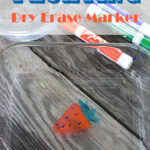
Do your kids like doing science experiments like mine? This Floating Dry Erase Marker experiment is simple and uses items you probably already have on hand.
These last few weeks we’ve been focusing on crafts and experiments that use items we already have on hand since it isn’t convenient to go to the store right now.
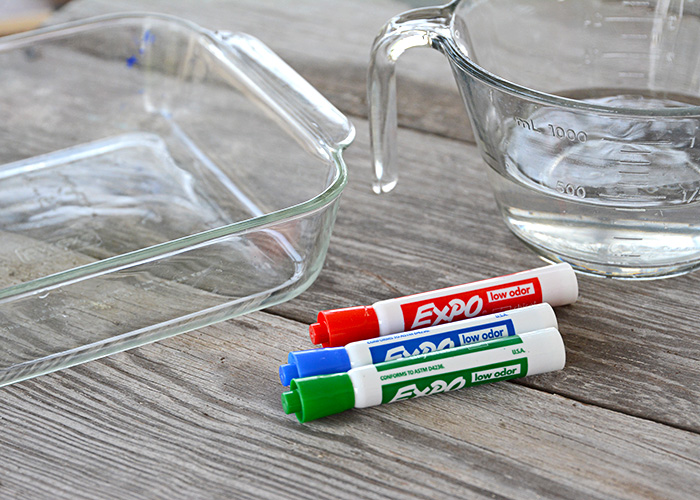
For the Floating Dry Erase Marker activity you will need:
Glass dish, bowl, or pie pan
Dry erase markers
Water, it doesn’t matter if it’s hot or cold.
Floating Dry Erase Marker
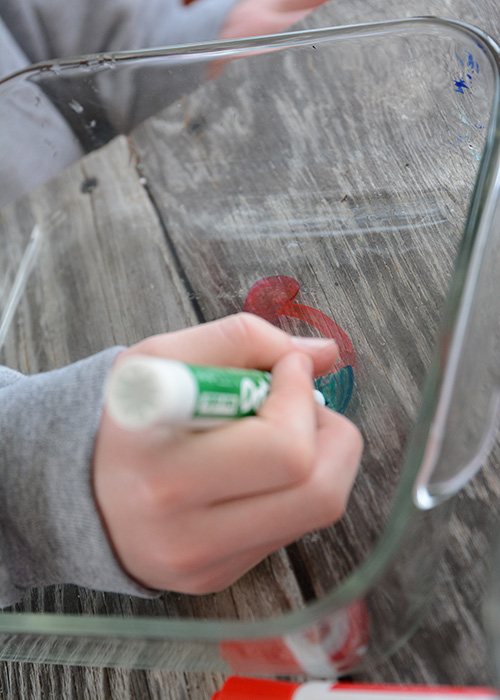
Begin by drawing your picture(s) on the bottom of the glass dish. Make sure that all that everything on your figure connects, or touches. If they don’t connect, your picture is more likely to fall apart.
Let the picture dry for a minute or so.
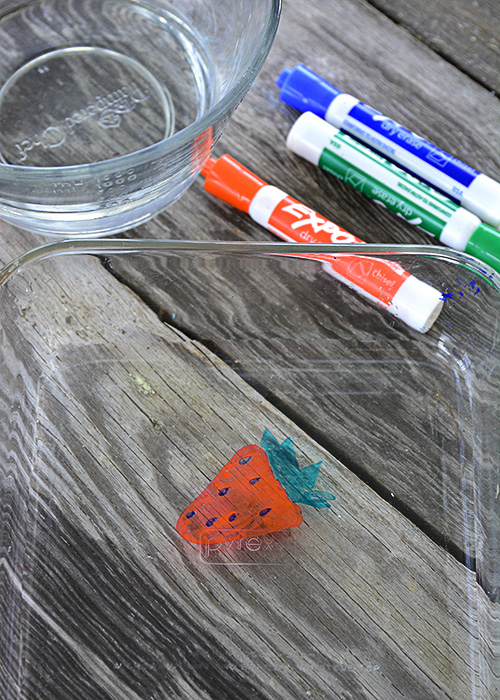
Slowly pour the water into the glass dish. It is best to not pour the water directly on the picture. Once the water starts to cover the picture, you will see the picture start to life off the bottom of the dish. Once the picture is all the way removed from the bottom of the dish, you can carefully start to move the dish around to watch the picture float.
You can do any shape you choose. We did strawberries, cherries, rainbows, shapes, and stick people. The stick people were tons of fun because they looked like they were dancing!
Some helpful tips that we learned as we went along:
- Make sure every part of your picture touches. If it doesn’t touch, it will more than likely detach from the rest of the picture.
- Let the picture dry for about a minute or so before adding the water.
- It doesn’t matter if the water is warm or cold, but do not pour the water directly onto the picture. This will make it fall apart.
- Wait for the picture to lift off the floor of the pan before moving the pan around.
- HAVE FUN!!!
Floating Dry Erase Marker
Ingredients
Instructions
- Draw the picture on the bottom of the glass dish.
- Allow the picture to dry for about a minute.
- Slowly pour the water into the dish. Do not pour the water directly onto the picture. Wait for the picture to lift off the bottom of the dish before moving the container around. Gently move the container to watch your picture float!
Helpful tips
- Make sure every part of your picture is connected when drawing. If it isn't connected, it is more likely to fall apart before it floats.
- Let the picture dry for a minute or so before adding water.
- It doesn't matter if the water is warm or cold, but do not pour the water directly onto the picture. Pour it off to the side then wait for the picture to lift off the bottom of the dish. Once it is floating, then you can gently start moving the dish to watch your picture float.
- Have fun!

Leave a Reply