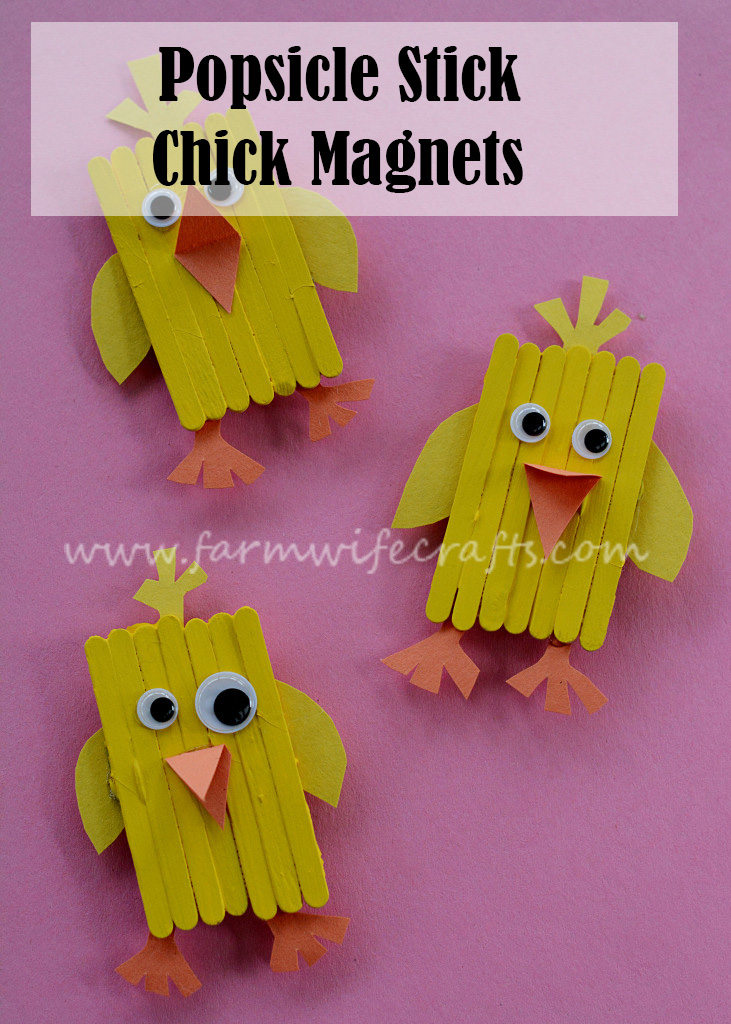
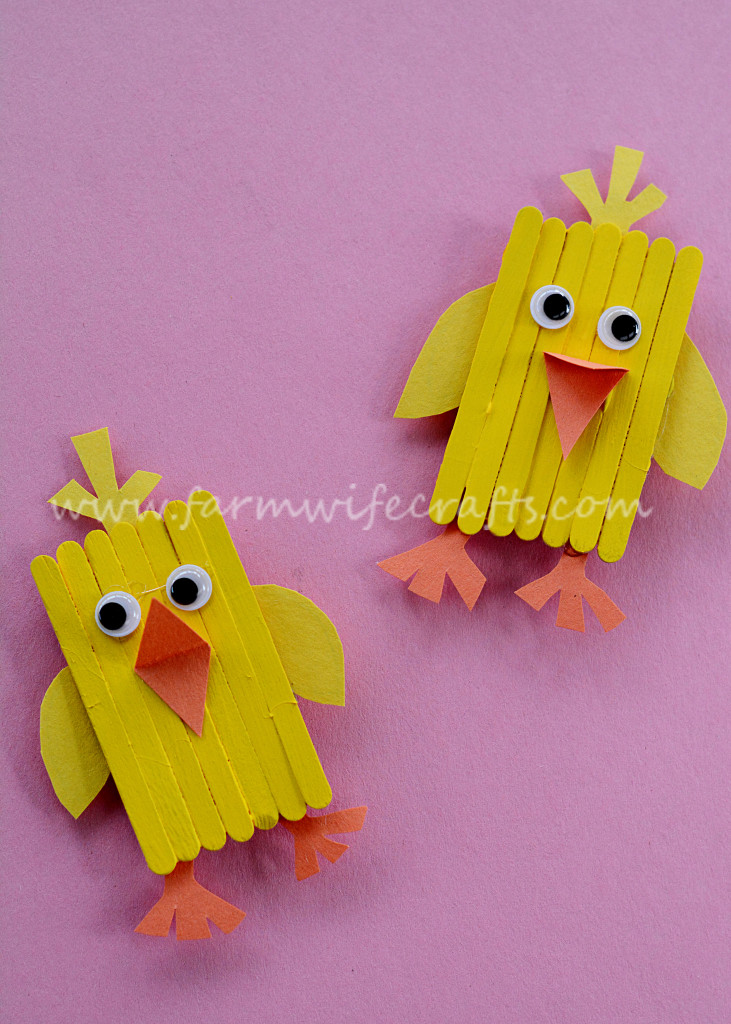
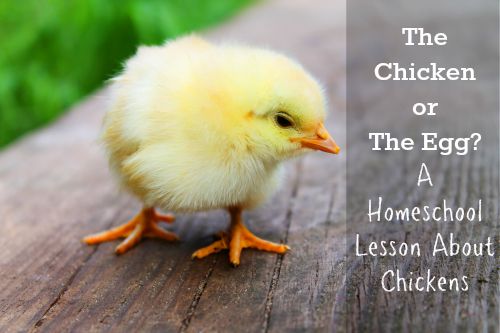
Each month Crystal of Mom for Less and I join together with Indiana’s Family of Farmers to bring a home school lesson and craft into your home. The topics are focused on agriculture. This month’s lesson and craft is all about chickens. The girls and I made these adorable Popsicle stick chick magnets to go with Crystal’s lesson.
Popsicle Stick Chick Magnets
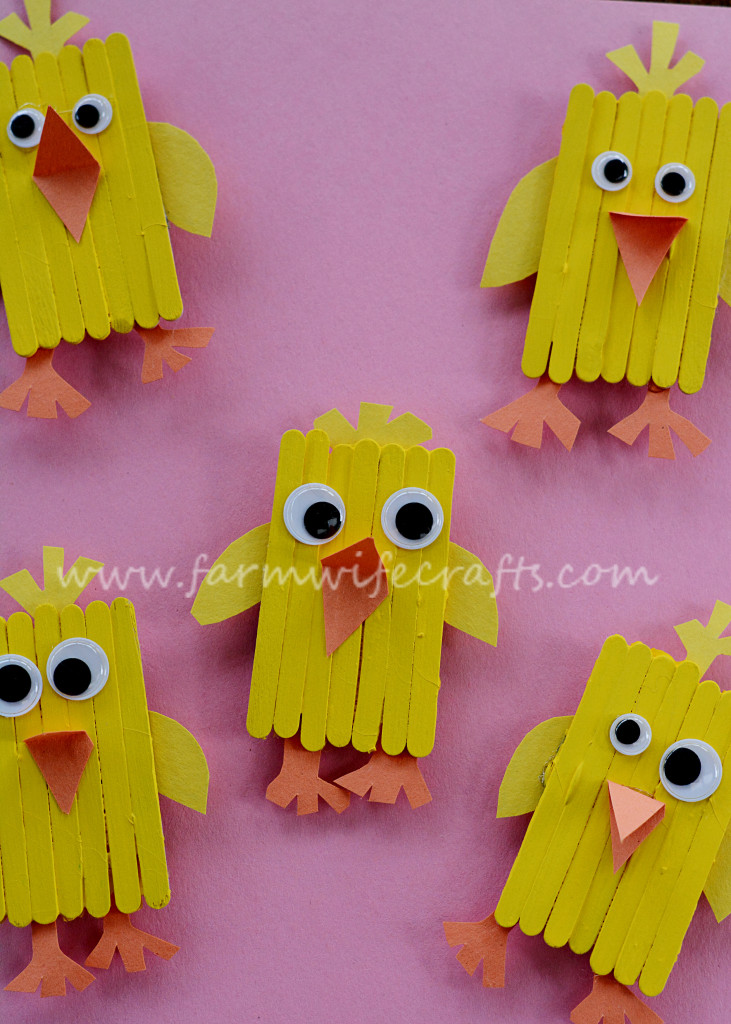
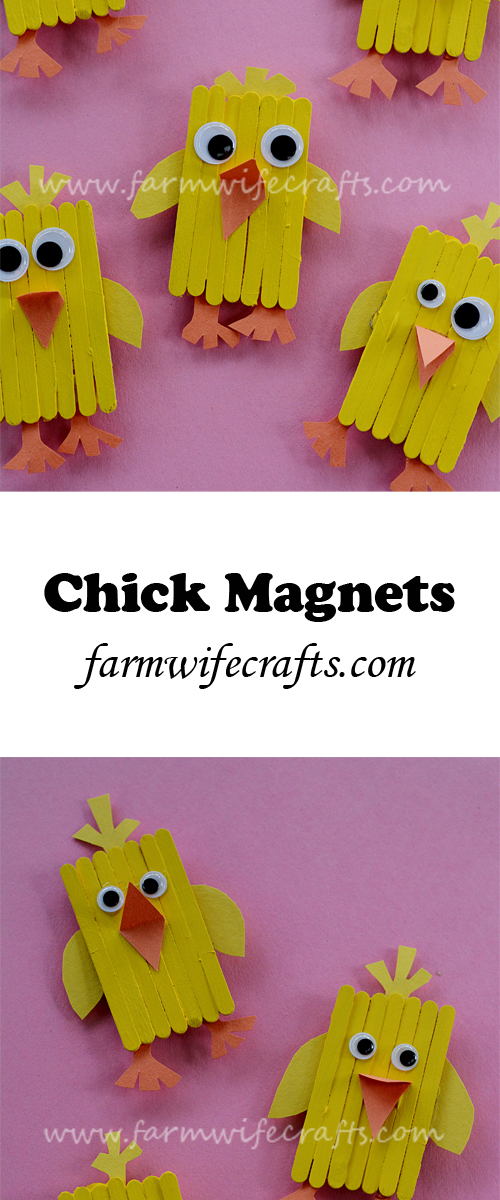
These Popsicle stick chick magnets are a great way to add some cuteness to the front of your refrigerator. Each one is unique.
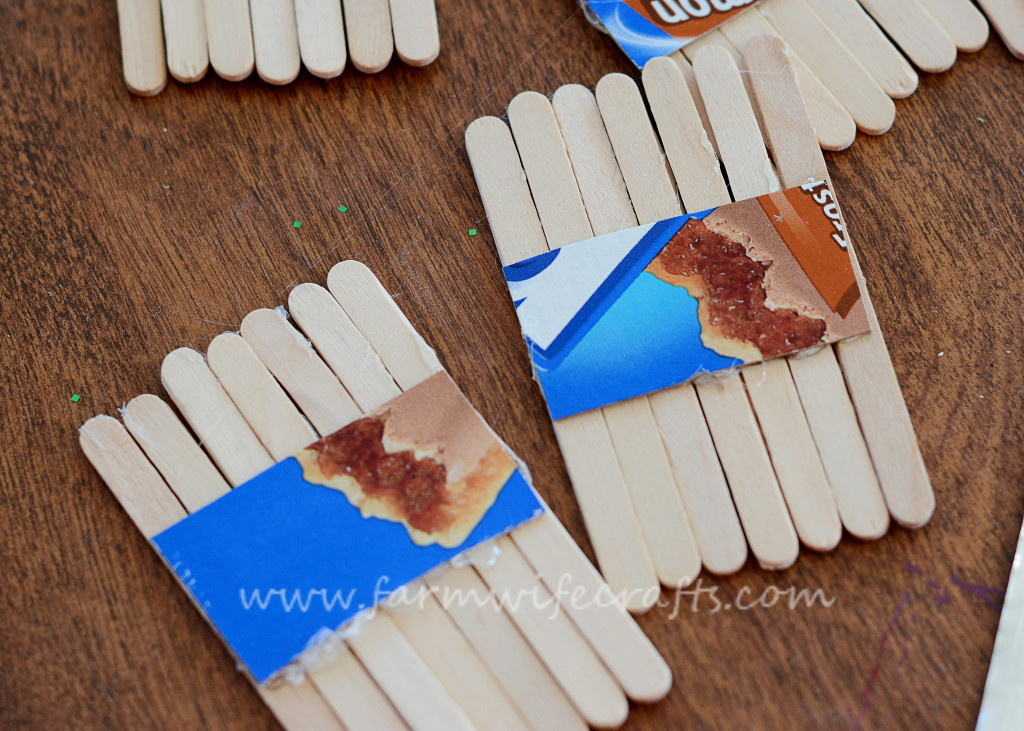
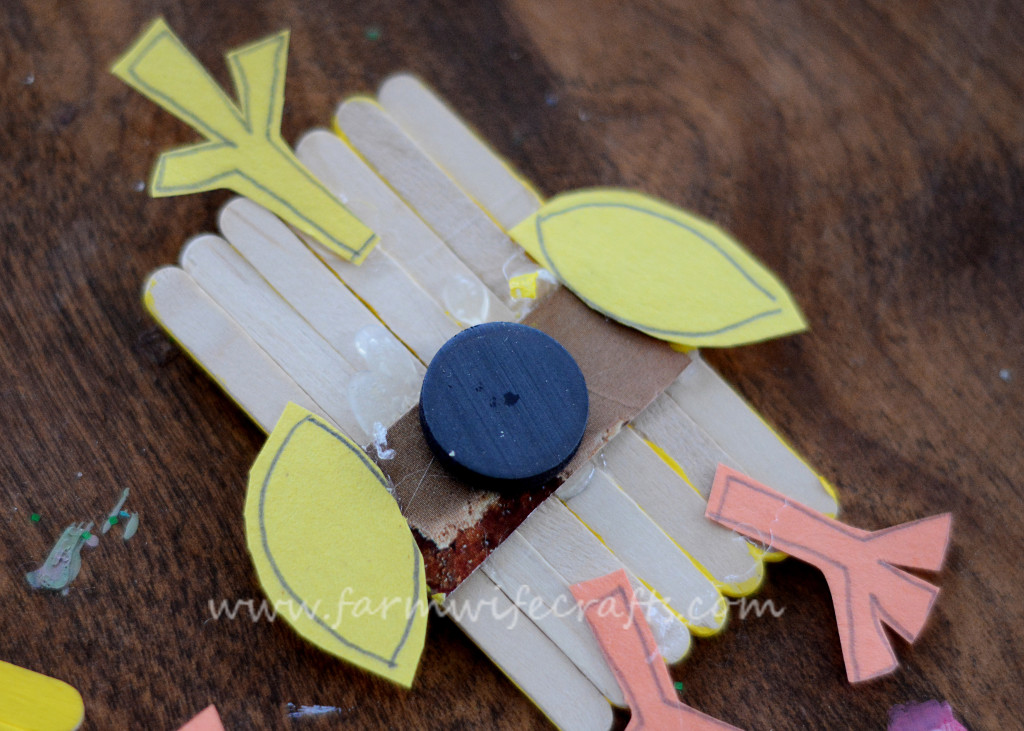
The first step is to glue the mini Popsicle sticks sticks to a piece of cardboard. I cut a small piece from an empty Pop Tart box.
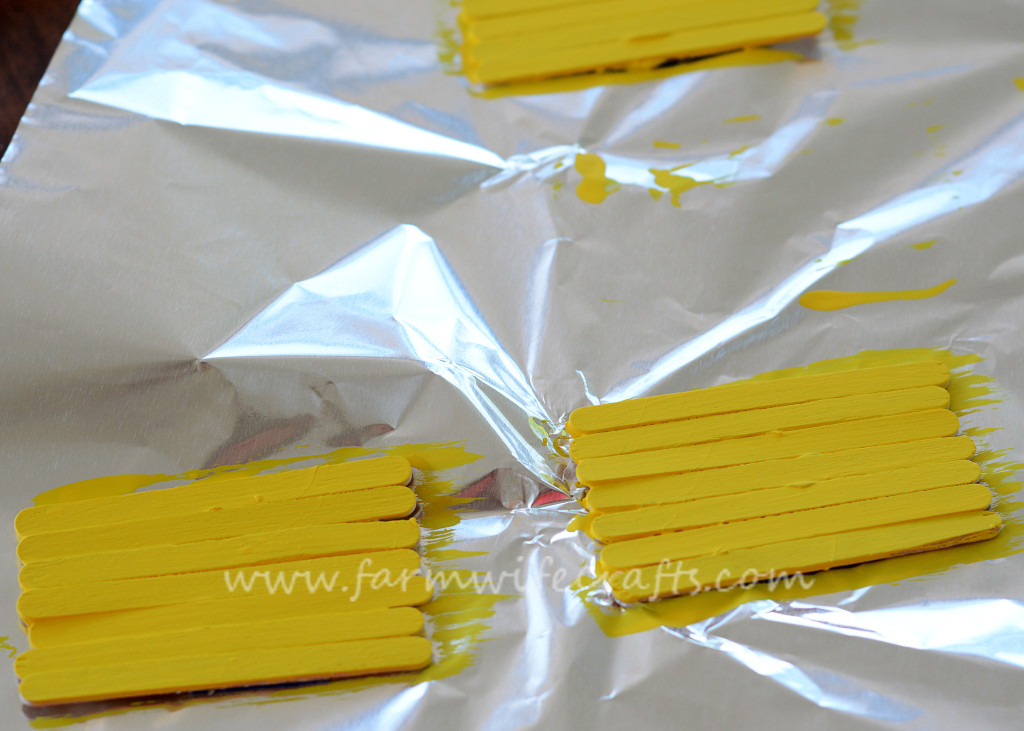
Allow the glue to dry, then paint the Popsicle sticks yellow and let dry.
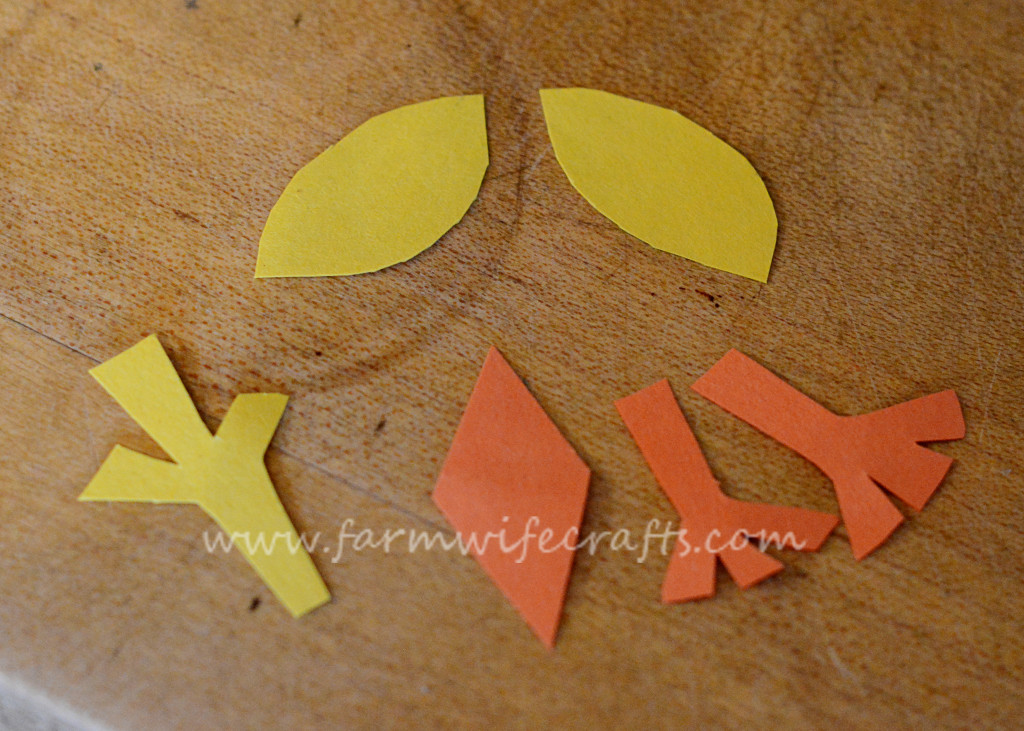
While the yellow paint is drying, cut out wings and “fluff” from yellow construction paper and a beak and feet from orange construction paper.
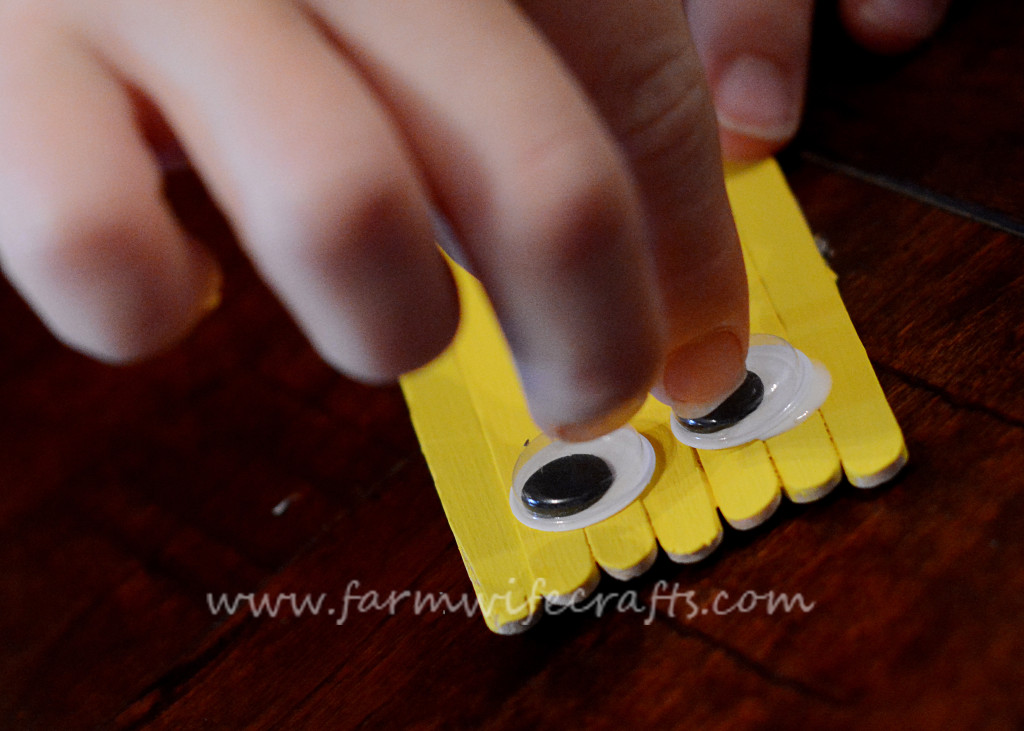
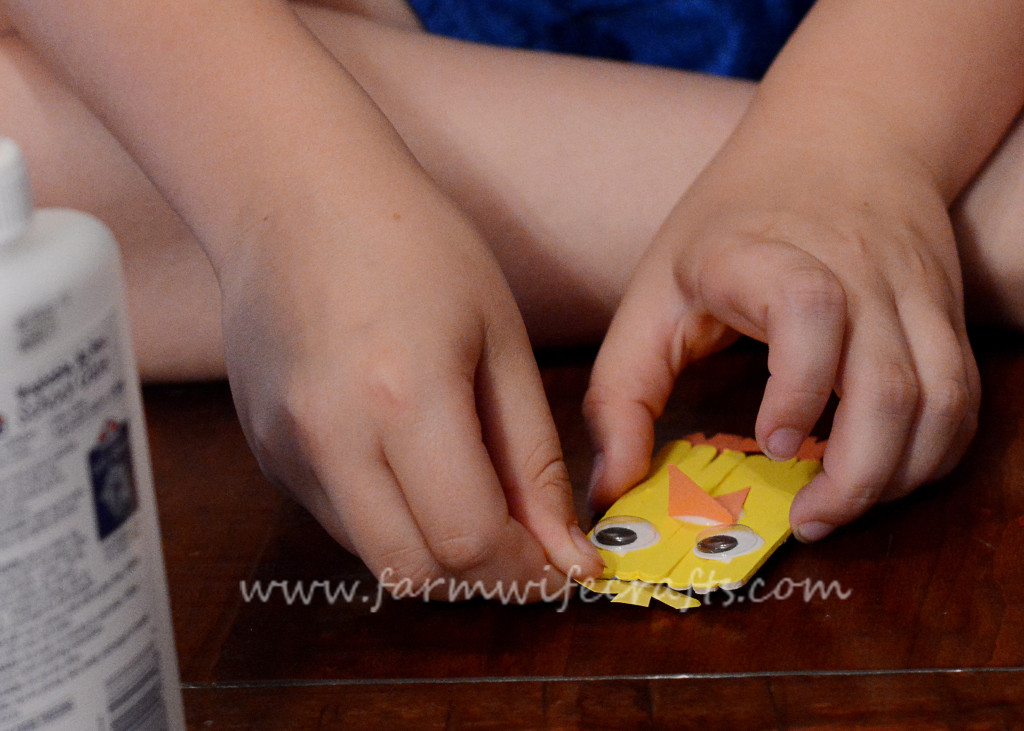
Once the yellow paint is dry, you can begin gluing on the body parts.
Allow the glue to dry and glue a magnet on the back. (Note: We used Elmer’s school glue for everything except the magnet. I attached the magnet with hot glue.)
Don’t forget to visit Mom for Less for a lesson on chickens!
Popsicle Stick Chick Magnets
Ingredients
- 7 mini Popsicle sticks
- yellow latex paint
- paintbrush
- cardboard
- hot glue gun
- googly eyes
- yellow construction paper
- orange construction paper
- white school glue
- magnets
Instructions
- Glue 7 mini Popsicle sticks onto a small piece of cardboard. (I used a piece I cut from a Pop Tart box)
- Allow the glue to dry, then paint the Popsicle sticks with yellow paint. Allow the paint to dry.
- While the paint is drying, cut the feathers, "fluff" for the top of the head, beak, and feet from the yellow and orange construction paper.
- Once the yellow paint is dry, glue the eyes, feathers, "fluff", beak and feet on the Popsicle sticks.
- Allow to dry.
- Glue the magnet on the back. (I suggest an adult use a hot glue gun for this step.)

Leave a Reply