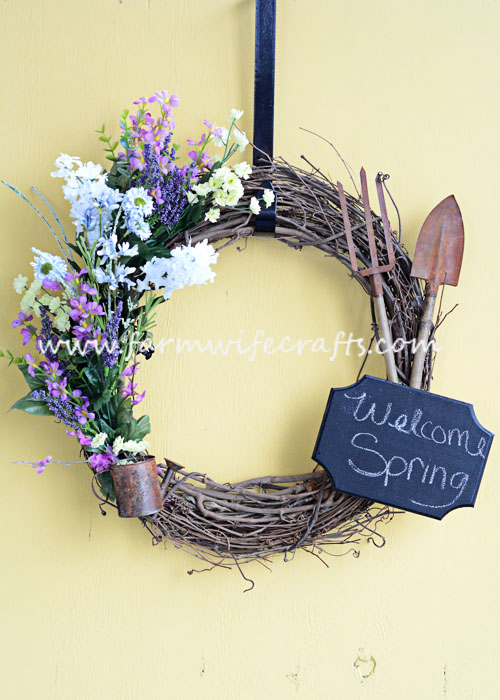
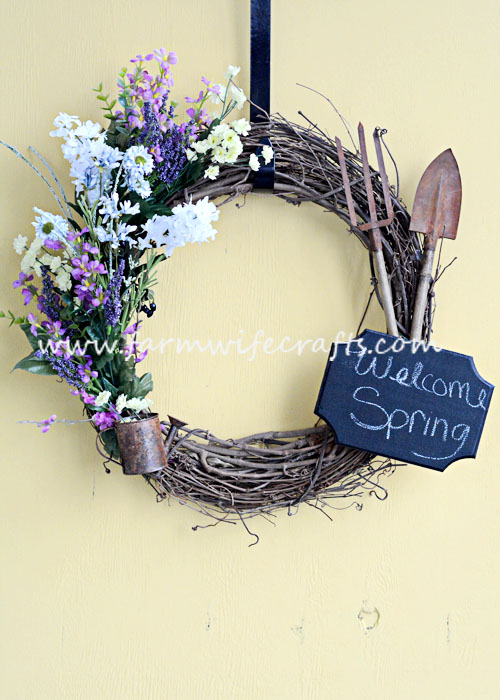
I hope you all had a fabulous Easter spent with loved ones and ate some incredibly delicious food! Spring is definitely in the air and this DIY Spring Wreath is the perfect way to brighten up your door.
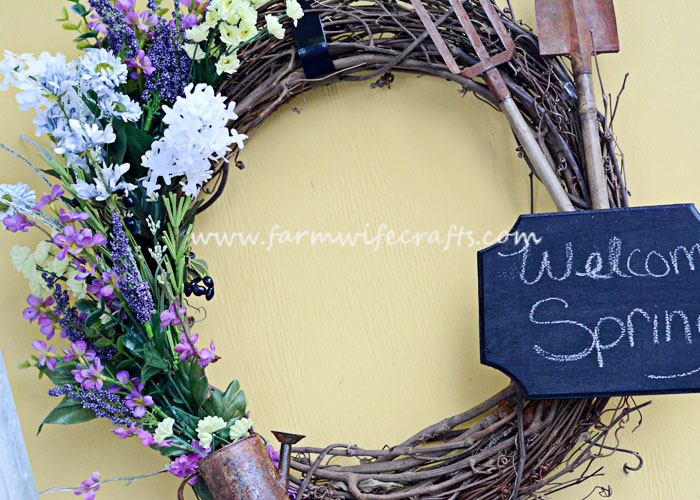
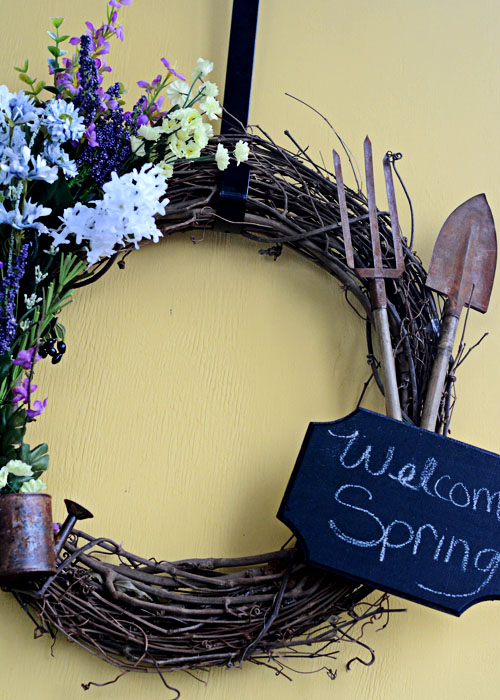
I love the versatility of this wreath. You can put anything you want on it. I knew that I wanted some flowers on it as well as a wooden plaque that I could paint with chalkboard paint and easily change out the messages. I went to my local craft store for flowers and the wooden plaque and ended up walking away with a shovel and rake and a little watering can that was tin and with a few ingredients, I was able to make it rusty to match the shovel and rake. I explained how to do this in my last post.
Spring Wreath
For this craft your will need:
artificial flowers
paint brush
additional decor of your choice
The first step is to paint the wooden plaque and allow it to dry completely. While it is drying, assemble the wreath.
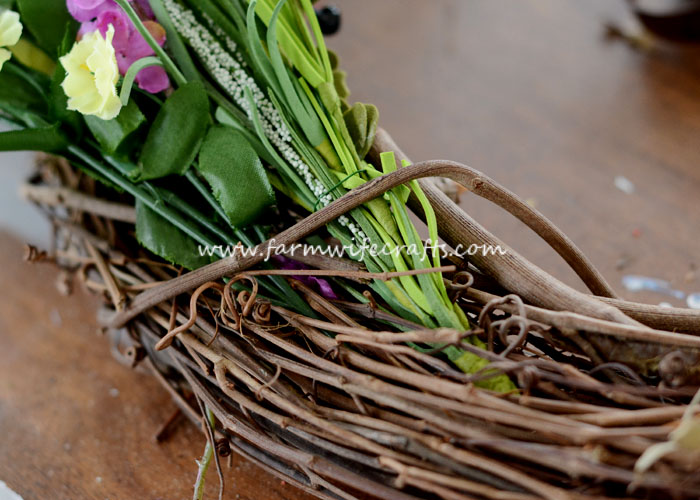
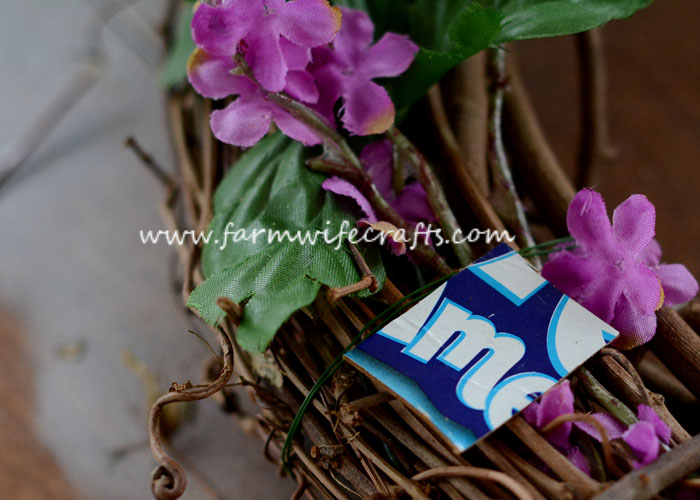
Begin by laying out the flowers in the design/layout of your choice. You may have to separate the individual flowers from the large stem using the wire cutters. You also may be able to stick the stems in the grapevine wreath and they will stay there, or you may need to attach them with the floral wire. I used green to match the stems, but they also have brown. By the time the wreath is finished, you can’t see the wire at all from the front, so it doesn’t matter what color you choose.
Next, it’s time to add any other decorations you have. To attach the little watering can, I first hot glued a piece of cardboard to the wreath and let it dry well, then I glued the watering can to the piece of cardboard.
If adding a shovel and rake, attach them using floral wire, then add the wooden plaque using the same steps as the watering can.
Once the glue is dry, you are ready to write a message on the chalkboard and the wreath is ready to hang.
You can keep this wreath up all summer, which is exactly what I am planning to do. Just change the word “spring” to “summer” and you are good to go!
Spring Wreath
Ingredients
- 18" grapevine wreath
- artificial flowers
- wooden plaque
- chalkboard paint
- paint brush
- chalk
- floral wire
- wire cutters
- hot glue
- hot glue gun
- wreath hanger
Instructions
- Paint the wooden plaque and allow it to dry completely. While it is drying, assemble the wreath.
- Begin by laying out the flowers in the design/layout of your choice. You may have to separate the individual flowers from the large stem using the wire cutters. You also may be able to stick the stems in the grapevine wreath and they will stay there, or you may need to attach them with the floral wire.
- Add all the other decorations using hot glue. If needed, glue a piece of cardboard to the wreath, then glue the items to the cardboard.


Leave a Reply