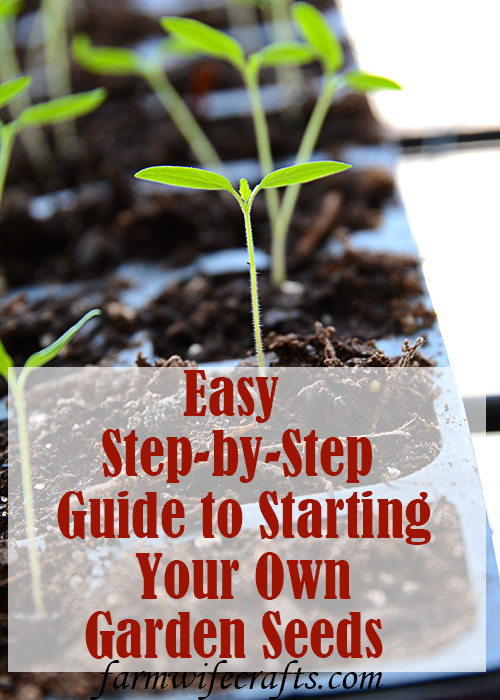
Are you thinking of starting a garden? Or, maybe you’ve had a garden for the last several years, but are considering starting your own seeds? Starting Garden Seeds Indoors doesn’t have to be complicated, actually it’s extremely easy to do. You don’t have to have fancy equipment either. In this post I’m going to give you some tips and share just how easy it is to start your own garden seeds indoors!
I’ve noticed with the recent quarantine orders that a lot of people seem to be buying garden seed which makes me think a lot of people are going to be starting gardens to grow their own produce.
Starting Garden Seeds Indoors
The first thing you need to do is decide what you want to plant in your garden. Not all seeds need to be started indoors. The package directions should give you tips, but for example, we plant:sweet corn, tomatoes, peppers, green beans, zucchini, radishes, beets, cucumbers, and broccoli. The only seeds I start indoors are tomatoes, peppers, and broccoli. Everything else should be ok to plant directly outdoors after the danger of frost has passed.
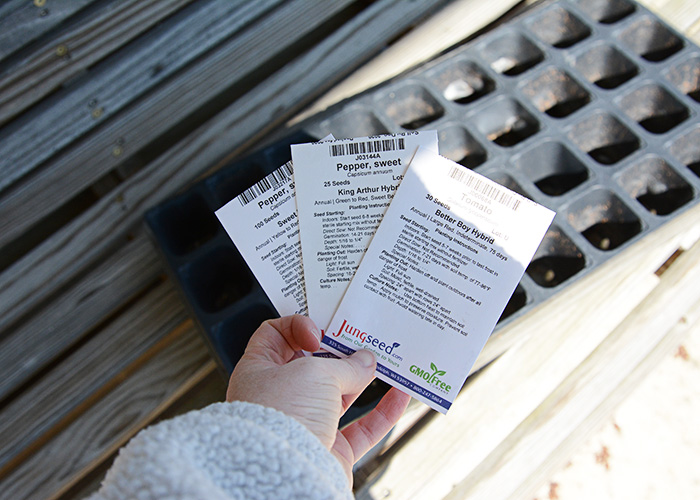
Once you have decided what you want to plant, it’s time to go shopping. You can find seeds pretty much anywhere this time of year, however I like to order mine from Jung’s Seeds. My grandparents always ordered from them and I continue to do the same. Just a personal preference.
We are in the heart of the Midwest, so I typically start my seeds around the middle of March, but you can research your zone and see what is recommended.
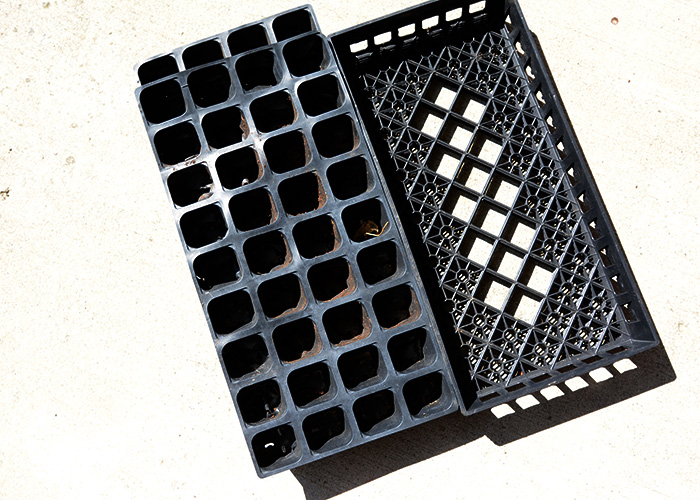
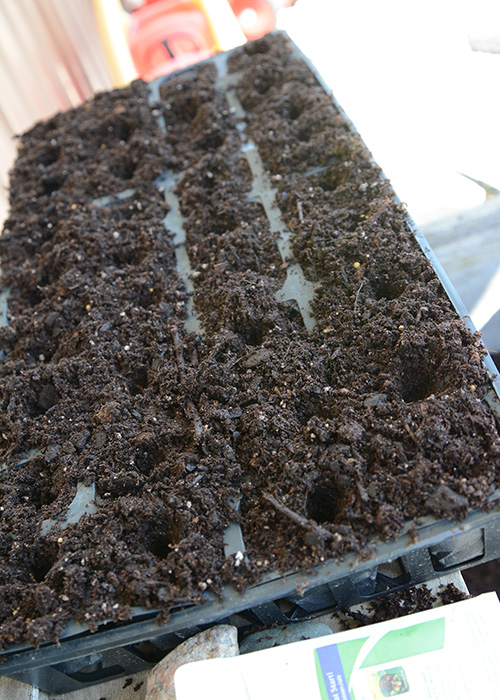
Gather the trays that you will start your seeds in. Pictured below is what I use, but if you don’t have access to these, you can use Styrofoam cups, or any type of small cup or pot, just make sure there are some drainage holes in the bottom.
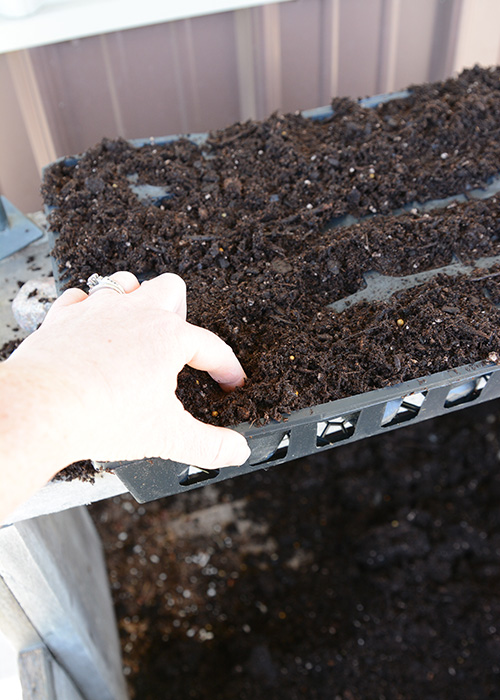
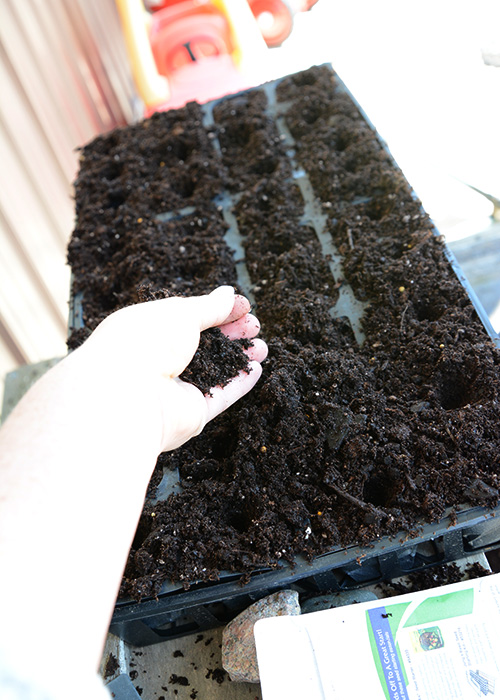
Begin by filling your trays with dirt and pack it down somewhat, not a lot because you don’t want the soil to be so compacted that the roots can’t spread. The soil should be somewhat moist, but not completely saturated. I use Miracle Grow Potting Soil, but you can use different varieties.
Next, using your finger, poke holes in to the dirt. The depth should match the package directions. Typically it’s about 1/4″ depth, but reference the back of the package.
Place the seeds in the designated spaces. The cover gently with additional soil as needed.
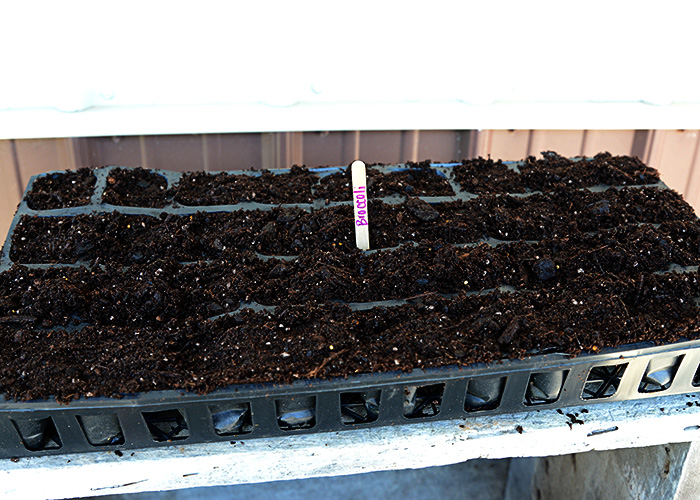
The next step is to label the trays. Label, label, label!!!!! Trust me, you might think you will remember or be able to tell which is which, but it starts to get kind of tricky. You can just use regular popsicle sticks and a sharpie marker.
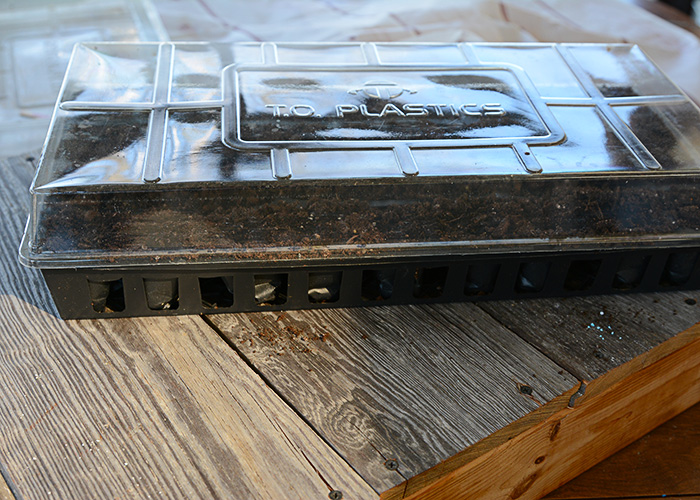
Now the next step is completely optional, so if you choose not to do it, place your trays in a warm sunny spot and watch the seeds grow! However, you can cover your trays with a plastic lid like the one pictured below, just until the plants begin to grow. Once they begin to emerge from the soil, you can remove this cover. This cover creates a greenhouse effect.
If you don’t have plastic covers, you can simply use Cling Wrap like in the picture below. When I first started doing this about 10 years ago, I used Cling Wrap. It worked just as well as the plastic cover, but it was a little inconvenient because you had to remove it carefully when watering, or you would have to replace it each time.
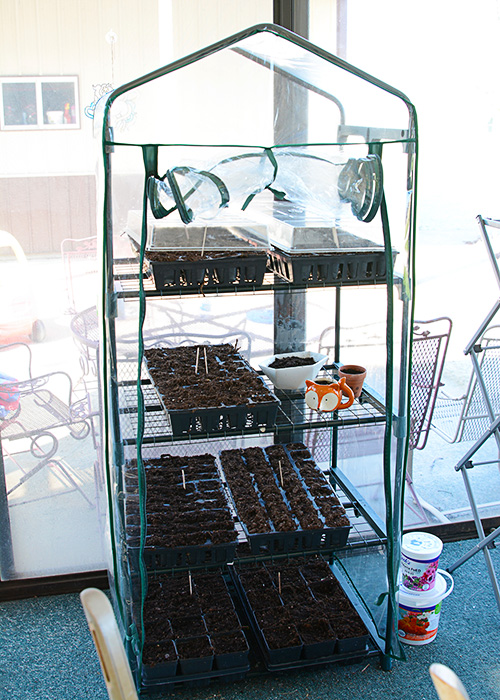
My husband got me one of these fun little greenhouses several years ago for my birthday, so I use that now, but a sunny window works just as well. Just remember to rotate your plants every other day or so.
Water the plants as needed. Once the soil looks a little dry, I usually water. The temperature will make a big impact on how often you have to water. I also like to fertilize my plants about once a week with Jack’s Tomato Feed.
Follow package directions. Yes, I also use this for my broccoli plants too.
Happy Gardening!!!


Leave a Reply