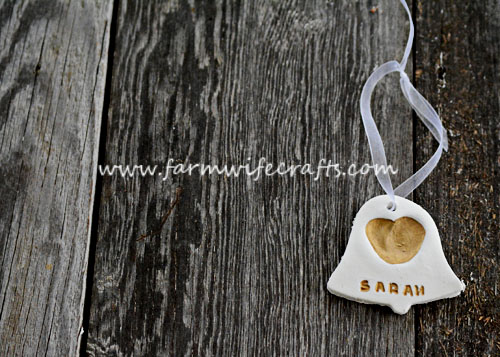
These thumbprint Christmas ornaments are simple to make and will document your little one’s tiny thumbprints for a lifetime.
Christmas is just a few days away and I find myself amazed at how quickly the time between Thanksgiving and Christmas has gone. I do my best to enjoy the days leading up to my favorite holiday. All the twinkling lights, the Christmas music (that is playing in the kitchen non-stop from Thanksgiving until Christmas that sometimes drives my family a little crazy), movies, and of course the real reason for the season. However, as I look back I wonder if I have done all I can to soak in every single moment of the season. Each year, the girls each make a new ornament for our tree. Eventually I’m going to run out of room to hang them on our tree, but that just means we’ll have to put up a second one! Ha! My husband loves that idea;) I try to come up with something that will help document that moment in time. Whether it be a hand print, or something that includes scribbles, these are my most favorite ornaments on the tree by far!
This year we made thumbprint ornaments. These were easy to make as I’m sure you are noticing by now, most of my crafts are. When you have three kids, the crafts have to be quick and easy. I actually had all the supplies on hand except for the letter stamps, but luckily my mother-in-law is an avid card maker so she had some. Score!
Like I said above, these are easy to make, but a little time consuming only because you have to allow some dry time, but that’s no biggie.
Thumbprint Christmas Ornaments
For this craft you will need: Christmas cookie cutters, white air dry clay, rolling pin, letter stamps, gold paint pen, straw, ribbon, and clear acrylic sealer.
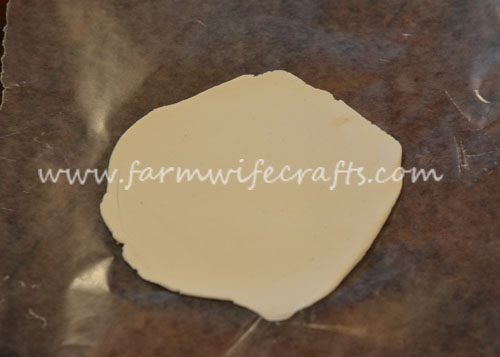
Begin by rolling out the dough. We made ours about 1/4 inch thick. Don’t make them too heavy or they will make the branches droop and will fall off if you have a real tree.
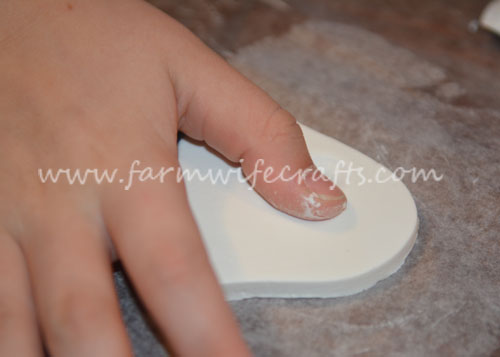
Next add your thumbprints to make a heart shape.
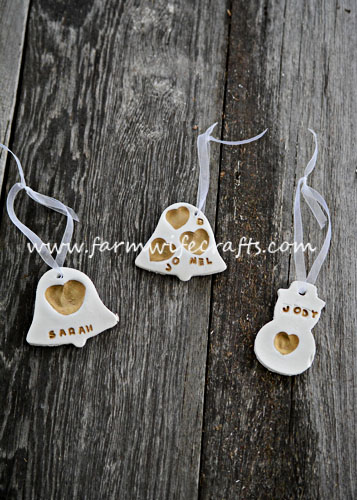
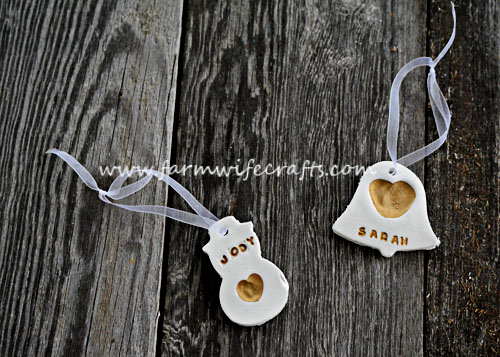
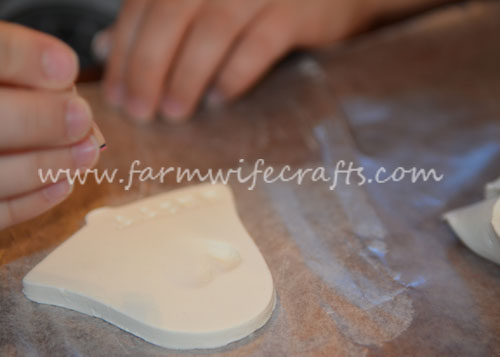
Stamp the child’s name on the ornament then poke a hole in the top with a straw so you are able to tie a ribbon on it for hanging. We didn’t have any number stamps, but if you do it might be neat to put the year on the front as well.
Allow the clay to air dry according to the package directions. We let ours dry for a couple days and flipped them over after one day.
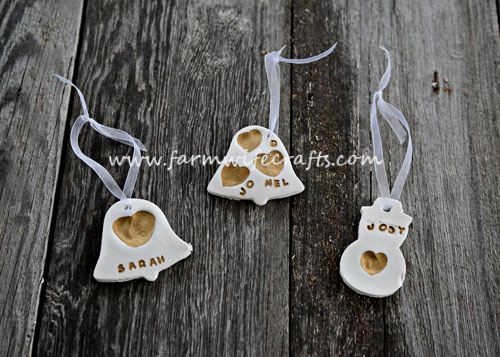
Once the ornaments are dry, paint the letters and thumbprints with a gold paint pen. This really makes the thumbprints pop. Since we didn’t have any number stamps, we added the year to the back of the ornament using the gold pen. Allow the gold paint to dry, then spray lightly with acrylic sealer. (Sorry. I don’t have any photos of this step.) Allow the acrylic sealer to dry, then add a ribbon and the ornament is ready to hang on the tree. These would also make a great gift for any loved one.
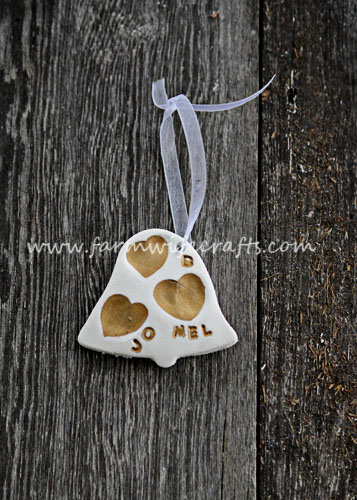
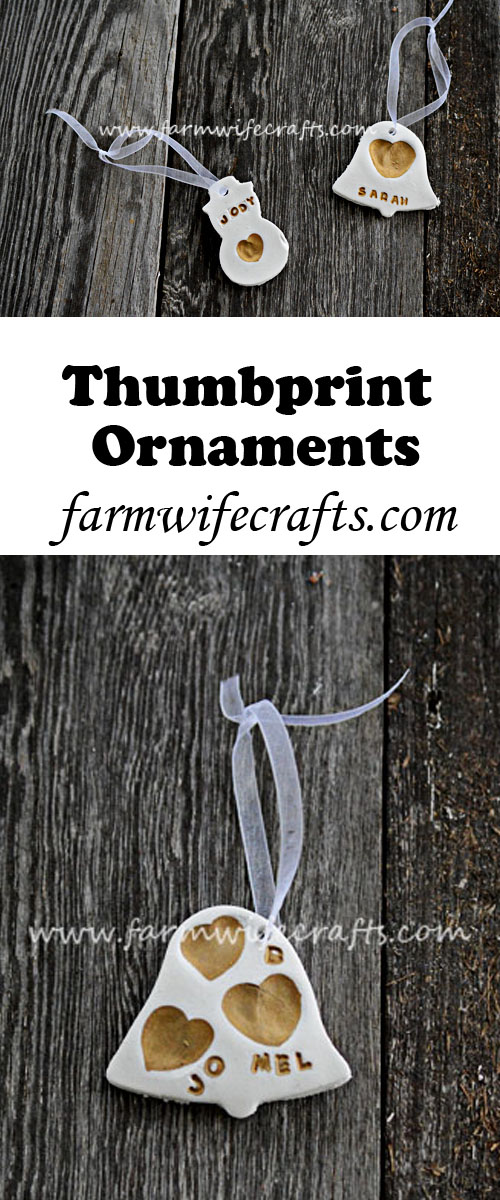
I particularly love this one that has all three of their names on it. Luckily we can abbreviate their names otherwise it may have been a little tricky getting everything to fit on the front.
Thumbprint Christmas Ornaments
Ingredients
- Christmas cookie cutters
- white air dry clay
- rolling pin
- gold paint pen
- clear acrylic sealer
- straw
- letter stamps
- ribbon
Instructions
- Roll theclayout large enough to fit the cookie cutter of your choice. (About 1/4 inch thick)
- Using a cookie cutter, cut out the desired shape.
- Make a heart by using two thumbprints.
- Stamp the child's name using the letter stamps.
- Using the straw, poke a hole in the top of the ornament.
- Allow the clay to dry completely. You may need to flip ornament over to allow the bottom to dry.
- Once the ornament is dry, paint the letters and thumbprint with the gold paint pen.
- Allow the gold paint to dry.
- Spray lightly with clear acrylic sealer.
- Tie a ribbon through the hole on the top of the ornament.

[…] Thumbprint Christmas Ornaments from Sarah at The Farmer Wife Crafts […]