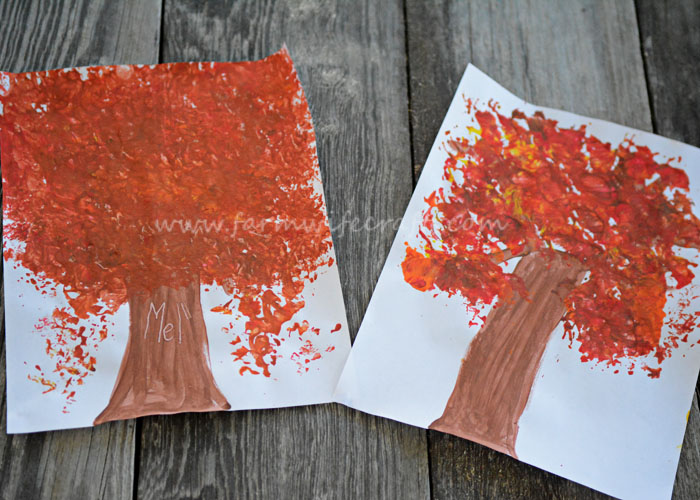
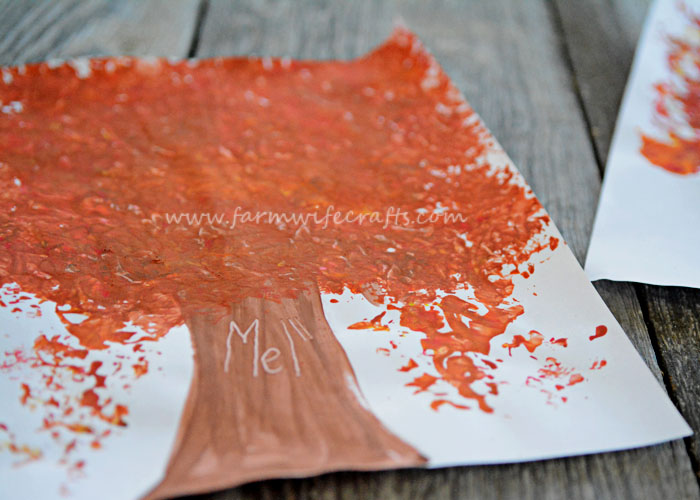
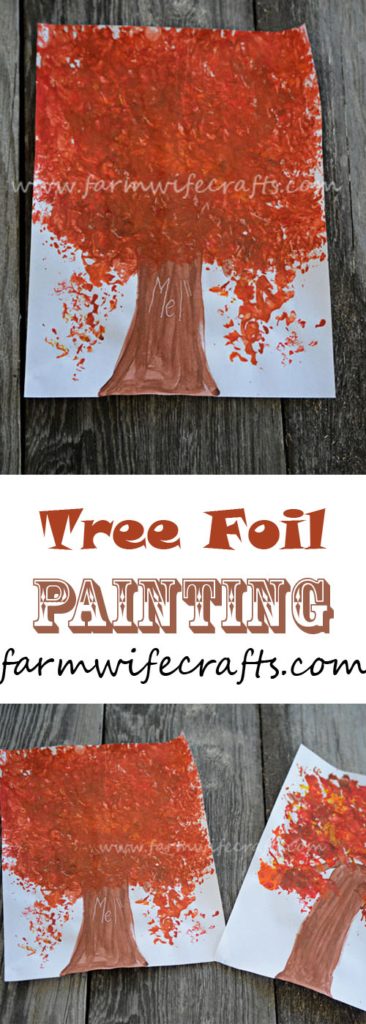
It’s fall and it’s our most favorite crafting season. Something about the cool crisp air, and actually wanting to spend a little bit more time indoors means more opportunities to craft. The first fall craft we made this season were these tree foil paintings.
Another reason this season allows more time for crafting is because Brad is in the fields harvesting corn and soybeans. That means a lot of time by myself with the three girls. Things can get a little crazy and I find myself looking for ways to entertain them. Thankfully, harvest ended, for us, on Tuesday!!!!!
Tree Foil Paintings
This craft is so easy and only takes a few supplies that you probably already have.
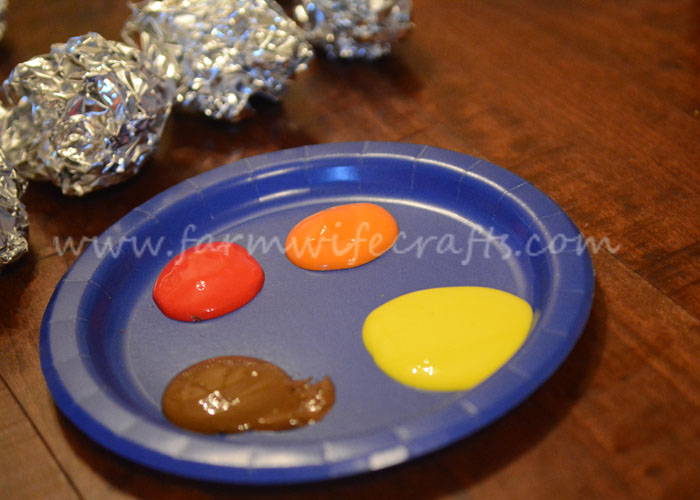
You will need: paper, aluminum foil, red, orange, yellow, and brown paint, paintbrush, water.
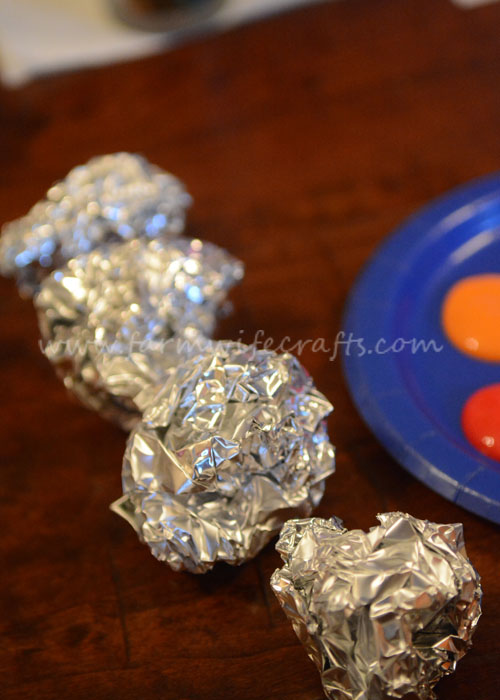
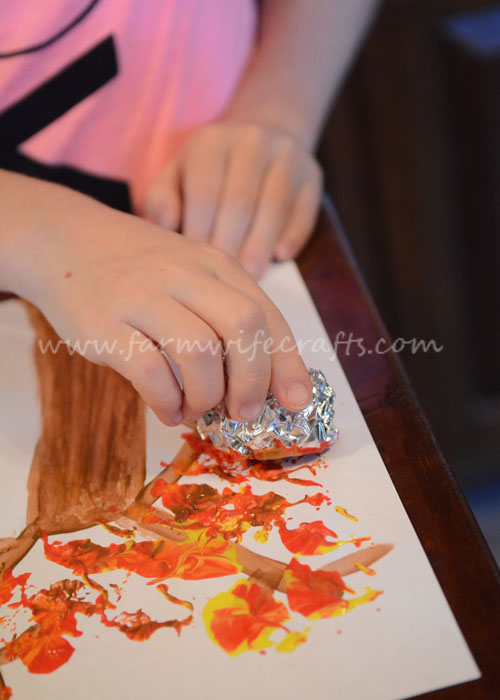
Begin by rolling some aluminum foil into a ball.
I made one ball for each paint color. Next, add some paint to a paper plate.
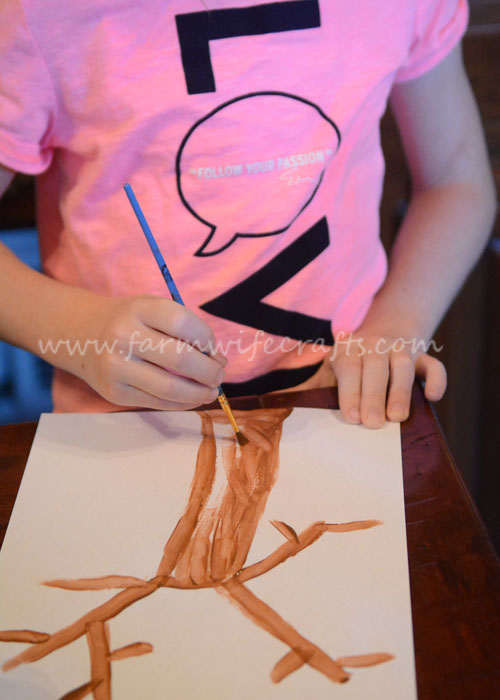
Paint the tree trunk and limbs on the white paper.
Now the really fun part….dip the foil ball into the paint and stamp it onto the paper.
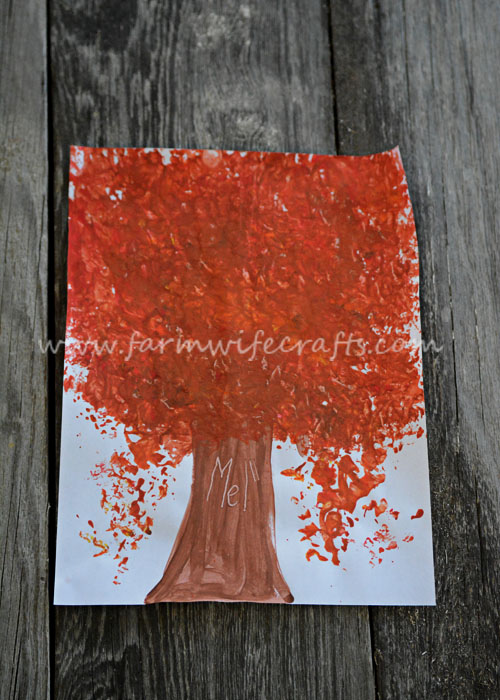
Continue doing this until you reach the desired “look.”
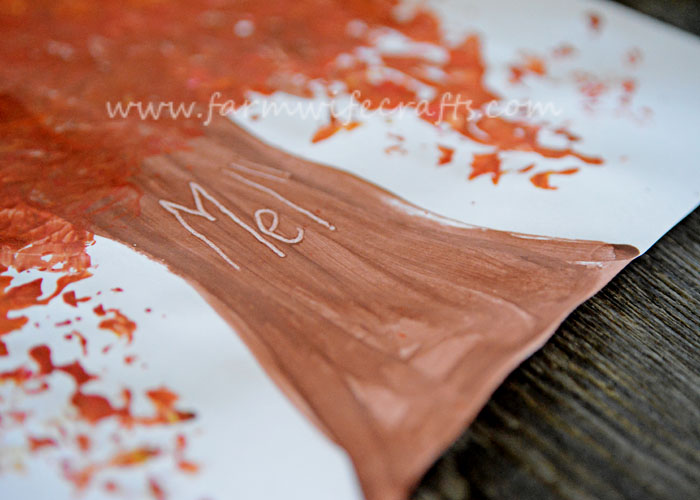
Mel came up with the idea to carve her name into the tree trunk with the end of her paint brush. You will need to do this before the paint dries completely.
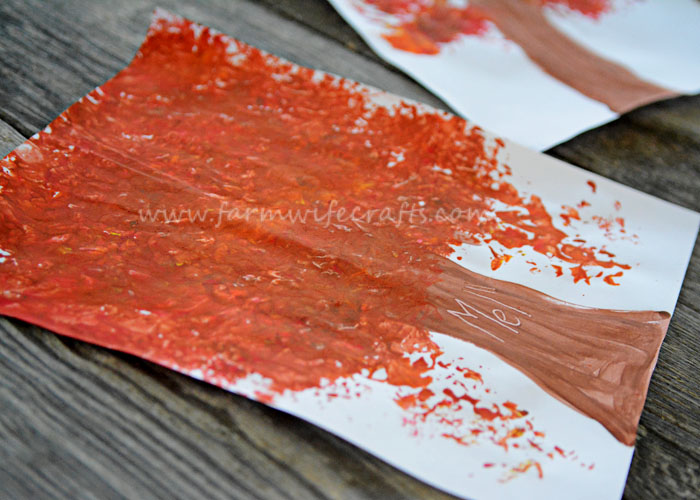
Love, love, love all the fall colors in these paintings.
Tree Foil Painting....
Ingredients
- white paper
- orange yellow, red, and brown paint
- paintbrush
- aluminum foil
- water
Instructions
- Roll the aluminum foil into balls and set aside. (I made one for each color of paint.)
- Add the paint to a paper plate or other surface.
- Paint the tree trunk and branches on the white paper.
- Begin painting with the aluminum foil by dipping the foil balls into the paint and stamping it on the paper. Continue until you reach the desired "look."
- Add a name to the tree trunk with the back of the paintbrush. (optional)


Leave a Reply