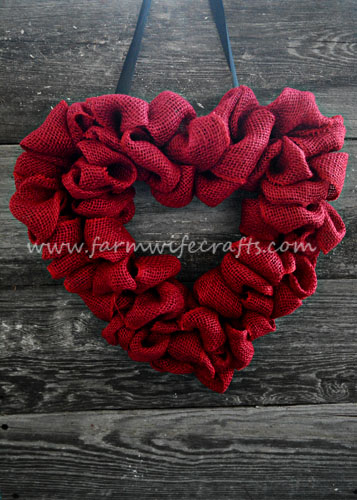
I’ve always loved the look of burlap wreaths. To me they look “rustic” which fits my style and home decor perfectly, but I’ve always been a little scared to make them. I remember flipping through a burlap wreath book at Hobby Lobby a couple years ago, but they just seemed super complicated to make. Maybe I was distracted by the girls and didn’t have time to focus on the instructions, so I just kind of put the idea of making one out of my head. Then, one morning I decided that I wanted to try and make a burlap heart wreath for our door for Valentine’s Day. Before I bought the supplies, I got on You Tube to see if I could, in fact, make one. I did it!!!
I am more of a visual learner, so watching the video helped a lot. These are so easy to make which makes me wonder why I waited so long to make one?
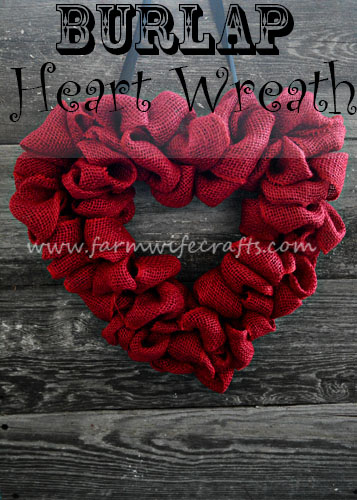
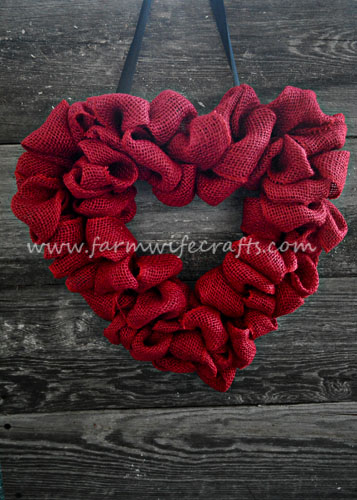
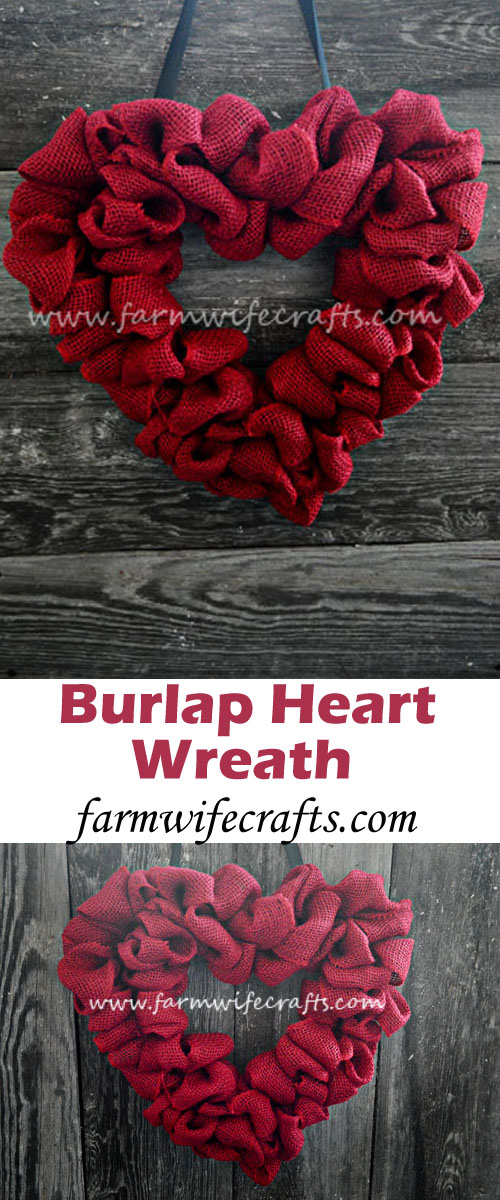
Burlap Heart Wreath
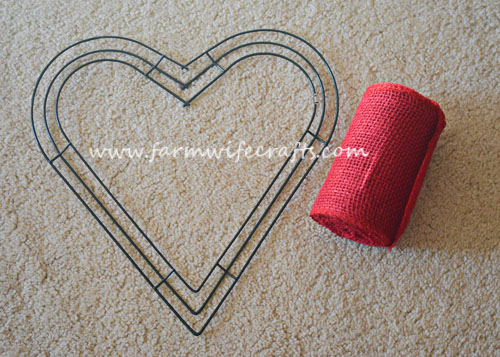
To make this Burlap Heart Wreath you will need: 12″ heart shaped wire box style wreath frame, 2 rolls of red burlap ribbon (mine was 5 1/2 inches wide), floral wire, 1″ ribbon of your choice (I used black), hot glue gun, hot glue.
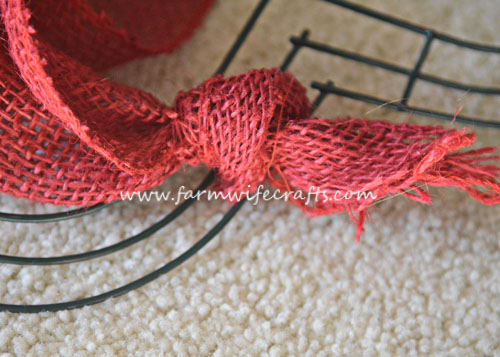
The curved side will be the front of the wreath. Flip the wreath over, so the curved side is facing down and tie a knot close to the center of the heart(You can also attach it using the floral wire, which is what I did when I added the second roll.) Don’t worry, the knot will be covered and you won’t be able to see it once the wreath is finished. Now, flip the wreath frame over so the curved side is facing you.
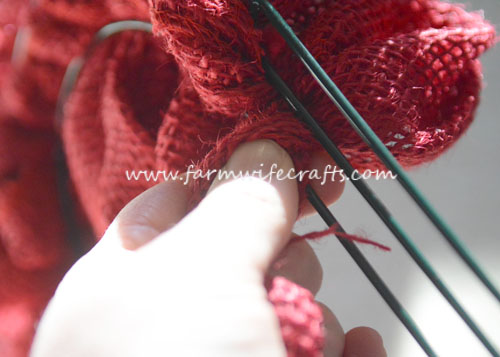
Twist the burlap one time and bring through the top space.
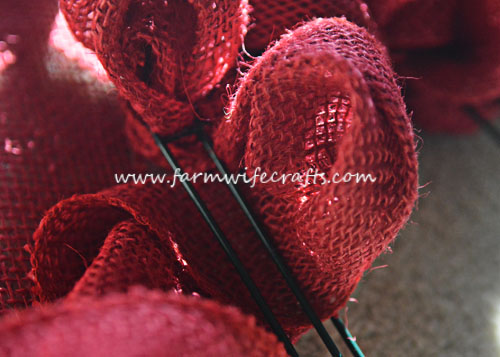
Now make the loop. It doesn’t matter how big or small you make it, just make sure they are all uniform in size.
Once you have made the first loop. Twist the burlap and bring it through the bottom space. Make the loop, then twist and bring through the top, loop, twist, then bring through the bottom. So you will go twist, pull, loop, repeat. Twist, pull loop, repeat. Every once in a while you will need to push the burlap back to keep it bunched together so you can’t see the wire frame.
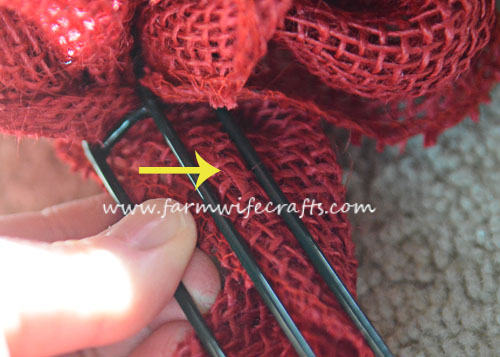
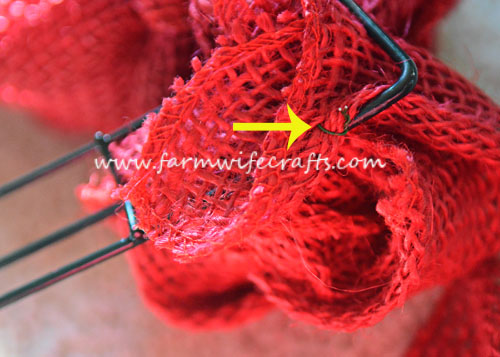
It took about 1.5 rolls of burlap to cover my frame, so once you get to the end of the first roll, tie it off with the floral wire like the picture below. Do the same thing to begin the second roll.
I tried to tie knots like I did at the beginning, but I felt it was going to be too bulky and noticeable especially since I ended right at the bottom of the heart.
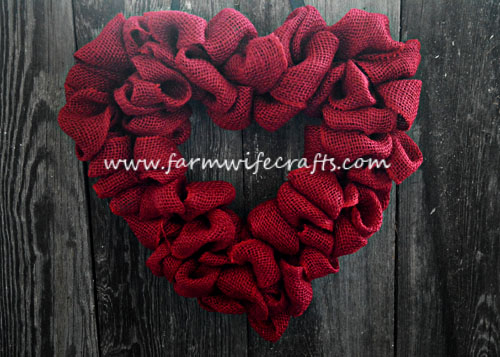
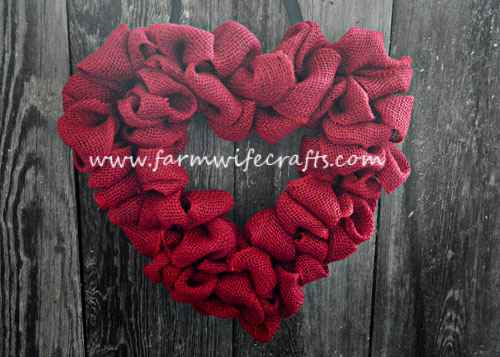
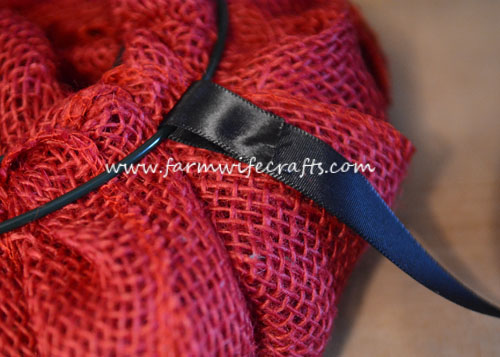
When you are finished making all the loops, attach the ribbon with hot glue, allow it to dry, and it is ready to hang!
I’m a little addicted to making burlap wreaths now and I’m ready to make another one, but we only have so many doors, so I guess I’ll just have to make them and give them away. That’s just as fun, right?
Burlap Heart Wreath
Instructions
- The curved side is the front of the wreath. With the curved side facing down, tie a knot to hold the burlap in place.
- Flip the wreath over so the curved side is now facing up. Twist the burlap and bring it through the top section of the wreath form. Make a loop (big or small just be sure to keep them all the same size.), twist ,make another loop through the bottom section, then twist, loop bring it through the top section, twist, loop, and bring it through the bottom section. Repeat until the wreath is finished.
- Gently push the burlap together every once in a while, so the wreath will be full.
- When you finish one spool of burlap, twist a small piece of floral wire through the burlap and around the wire frame. Attach the second roll the same way.
- Once the wreath is finished, attach the ribbon with hot glue, let the glue dry, then hang.


Leave a Reply